


Annuva Space Invaders Thang
*Control yourself*


I know, I know - I’m kinda obsessed with Taito’s classic 1978 game Space Invaders. Jeez - it was the first ever video game I ever played. It was approximately 1980 and I would have been 7 years old. It was definitely in a roadside cafe near Rugby (Midlands, UK) called the ‘Sleepy Sausage’. I believe this was part of a small chain of ‘greasy spoon’ cafes, or ‘caffs’ as we called them back then.
If anyone has any info or pictures from this cafe, please get in touch. This place holds a whole load of childhood memories for me and I’d love to see the old place in it’s former glory.
The Space Invaders machine stood right next to a Space Invaders pinball, which the scary bikers used to play and I was a bit frightened of it to be honest. The Invader on the back glass looked more like something off of an Iron Maiden album cover or a right terrifying ‘Alien’ film of some sort. Ahem - Bally was actually sued for using this artwork…
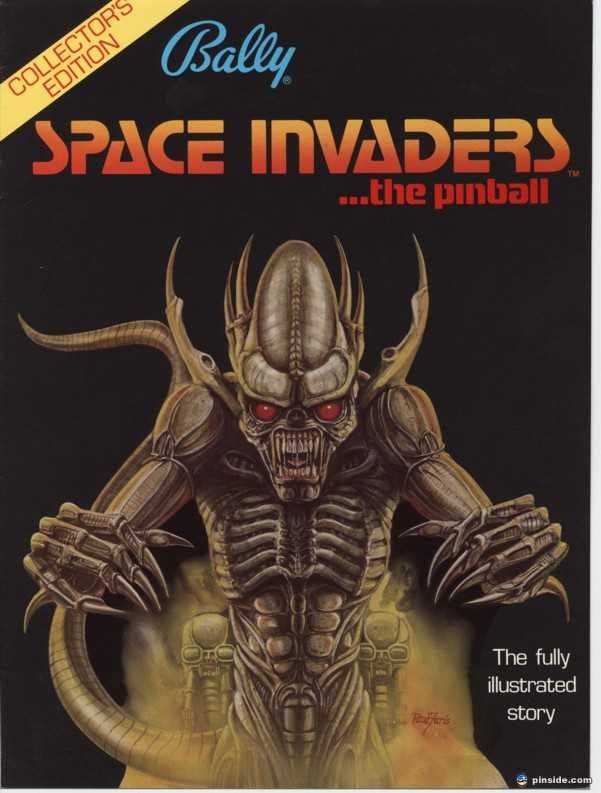
Check out this pinball on PINSIDE
It just came up, honest guv’
While I was finishing off the last Tinkering, I saw a picture post on Bluesky from my mate Ian ‘Funk’ of a rather nice bespoke joystick. The post was sent by Taito’s official Bluesky account and I thought it would be nice to recreate the thing with my 3d Printer.
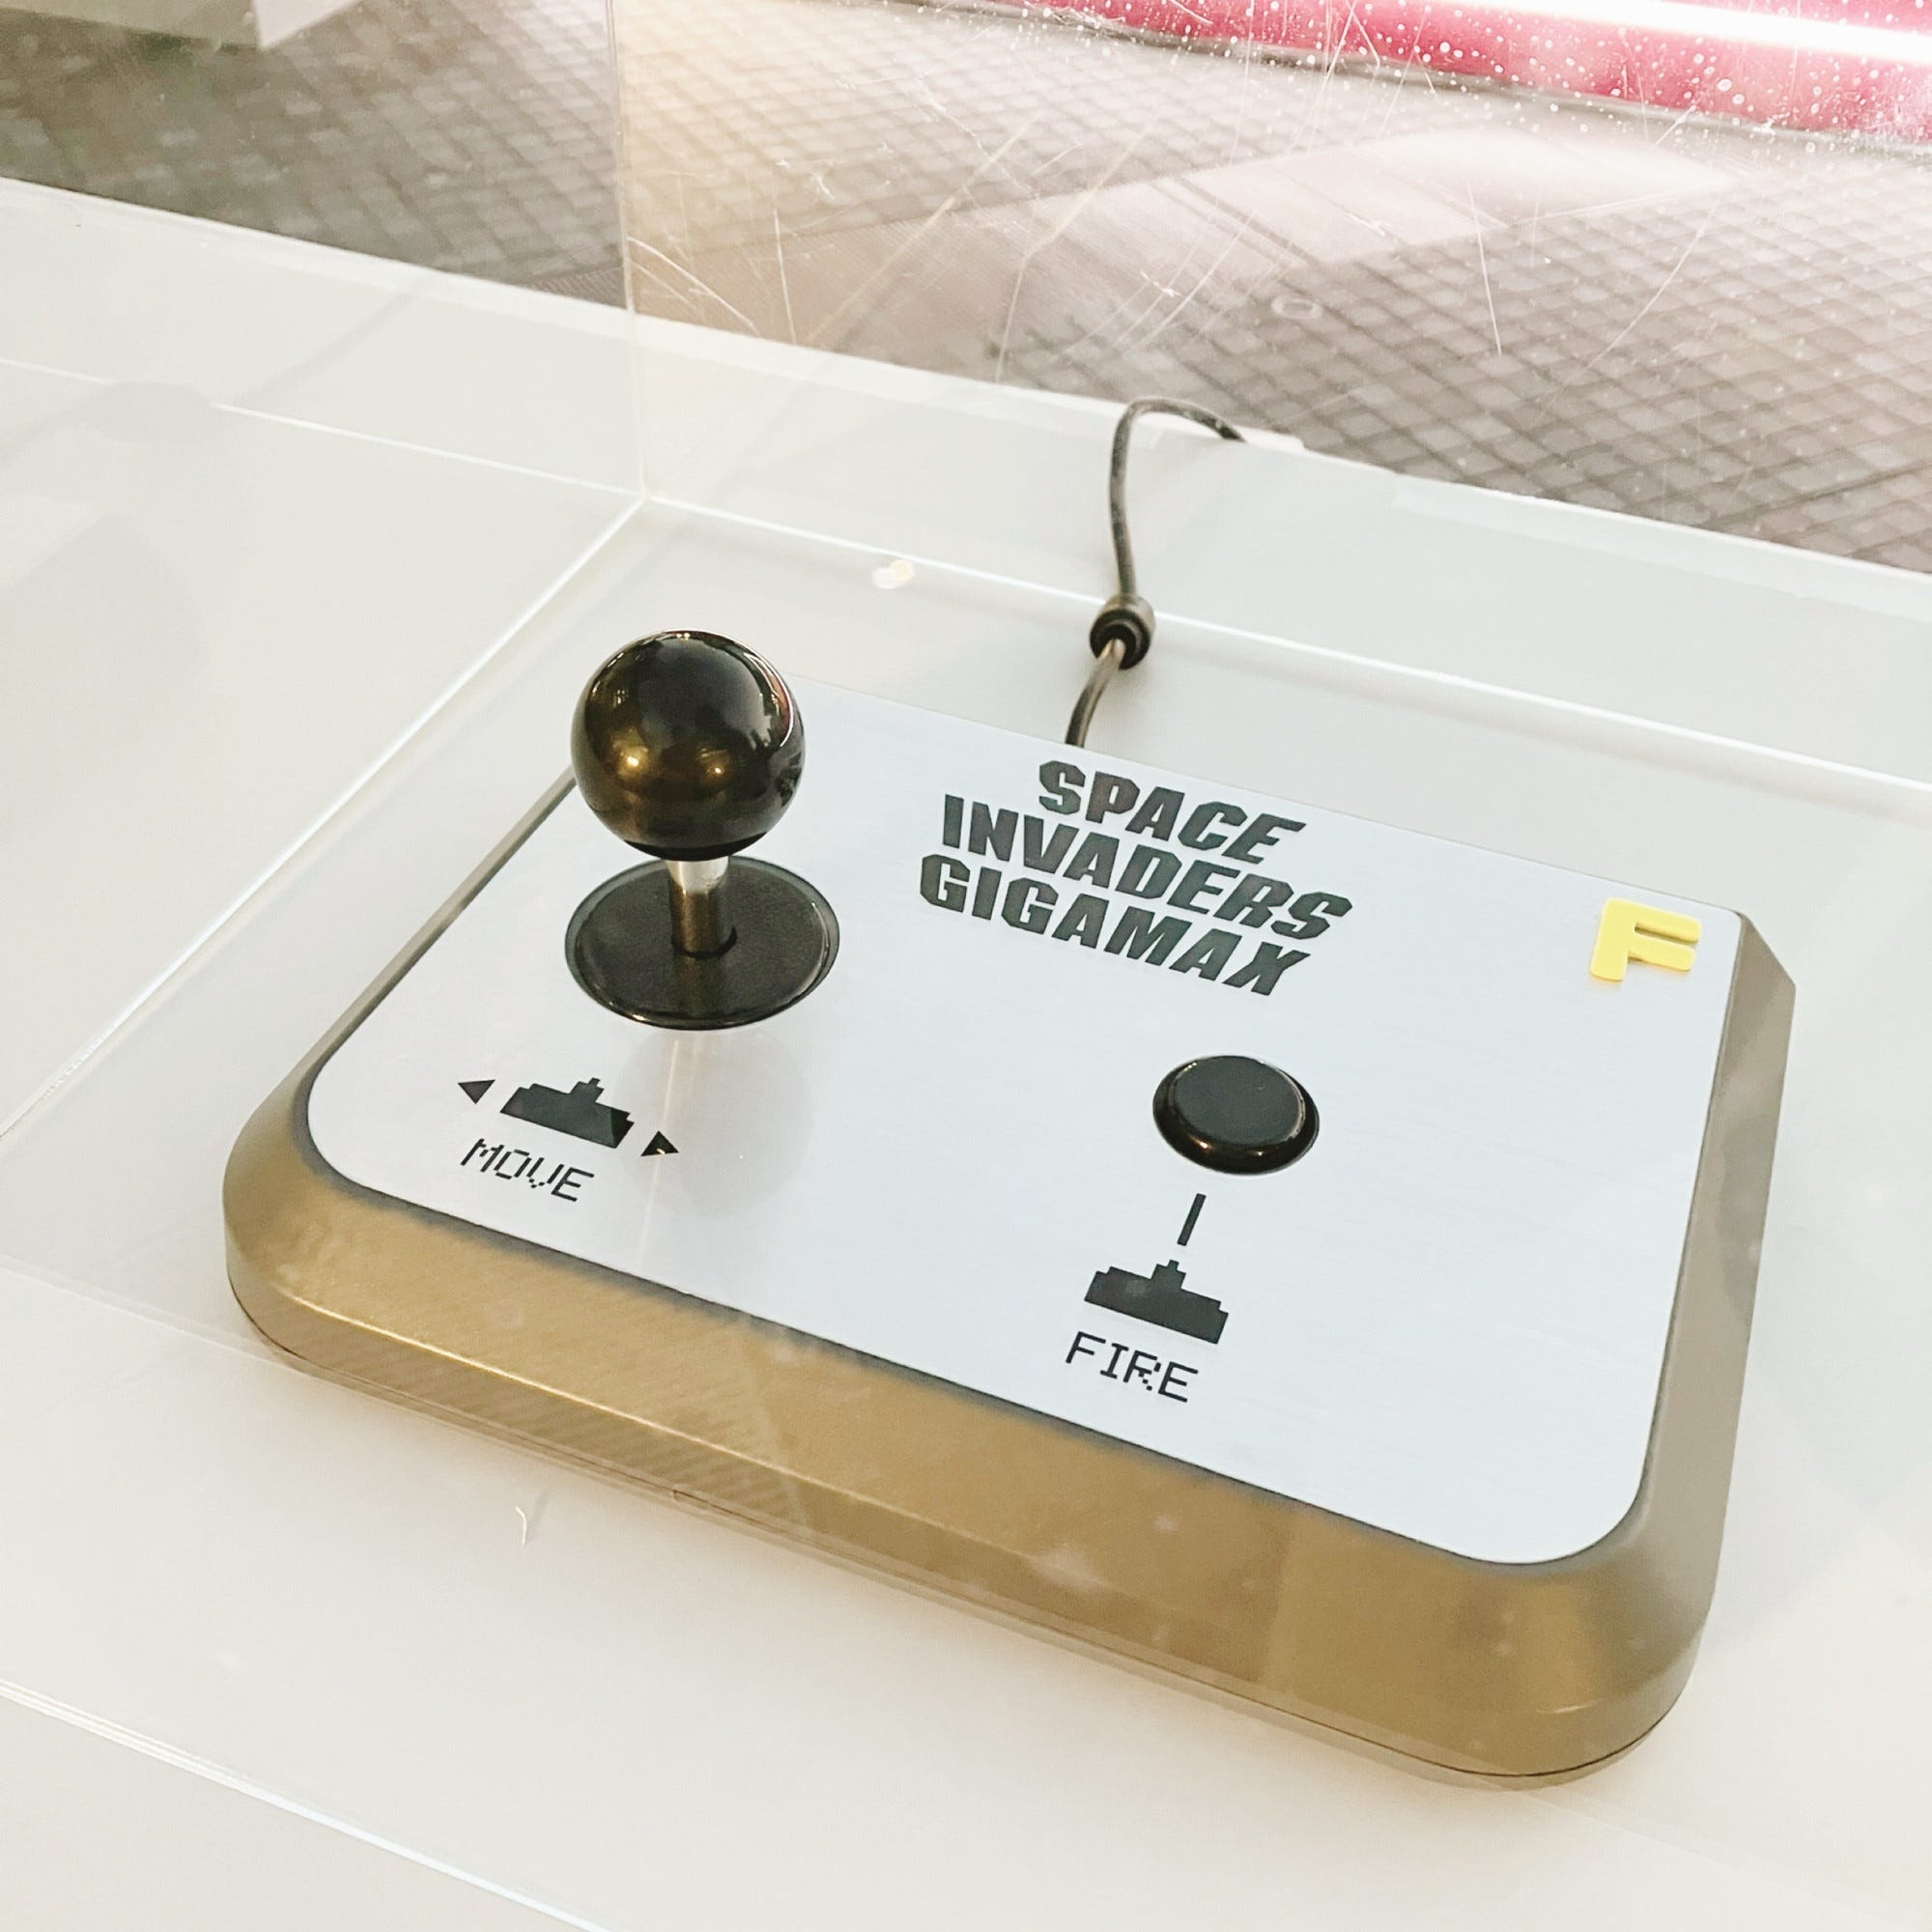
I have no idea what the ‘gigamax’ suffix means and not even sure if it’s official. If I were to guess, someone made a nice looking controller for their favourite game with tributes to the grandaddy of arcade games. What is the yellow ‘F’ on the right hand back corner about ???
As I’m a technical person (by day and sometimes at night) I thought I could work out the approximate dimensions of the controller by the known sizes of the button and joystick balltop. A standard joystick balltop is 35mm (but you can get 30mm and 40mm versions) and the button looks like a Sanwa OBSF24, which at its largest diameter is a shade under 28mm. I worked out the size to be 260mm X 165mm X 40mm. The angle doesn’t look 45 degrees, so by my elementary deductions, I took it as a 20 deep X 10 wide angle (53 / 37 degree angle) The wall under the angle looks about 10mm (ish) and the bottom panel would need to be a bit thicker to house the joystick. I went about drawing and modelling this up and came up with a rather nice looking version of the above picture. I also had to adjust the length to 250mm to fit on my 3D printer…
Ch Ch Ch Changes
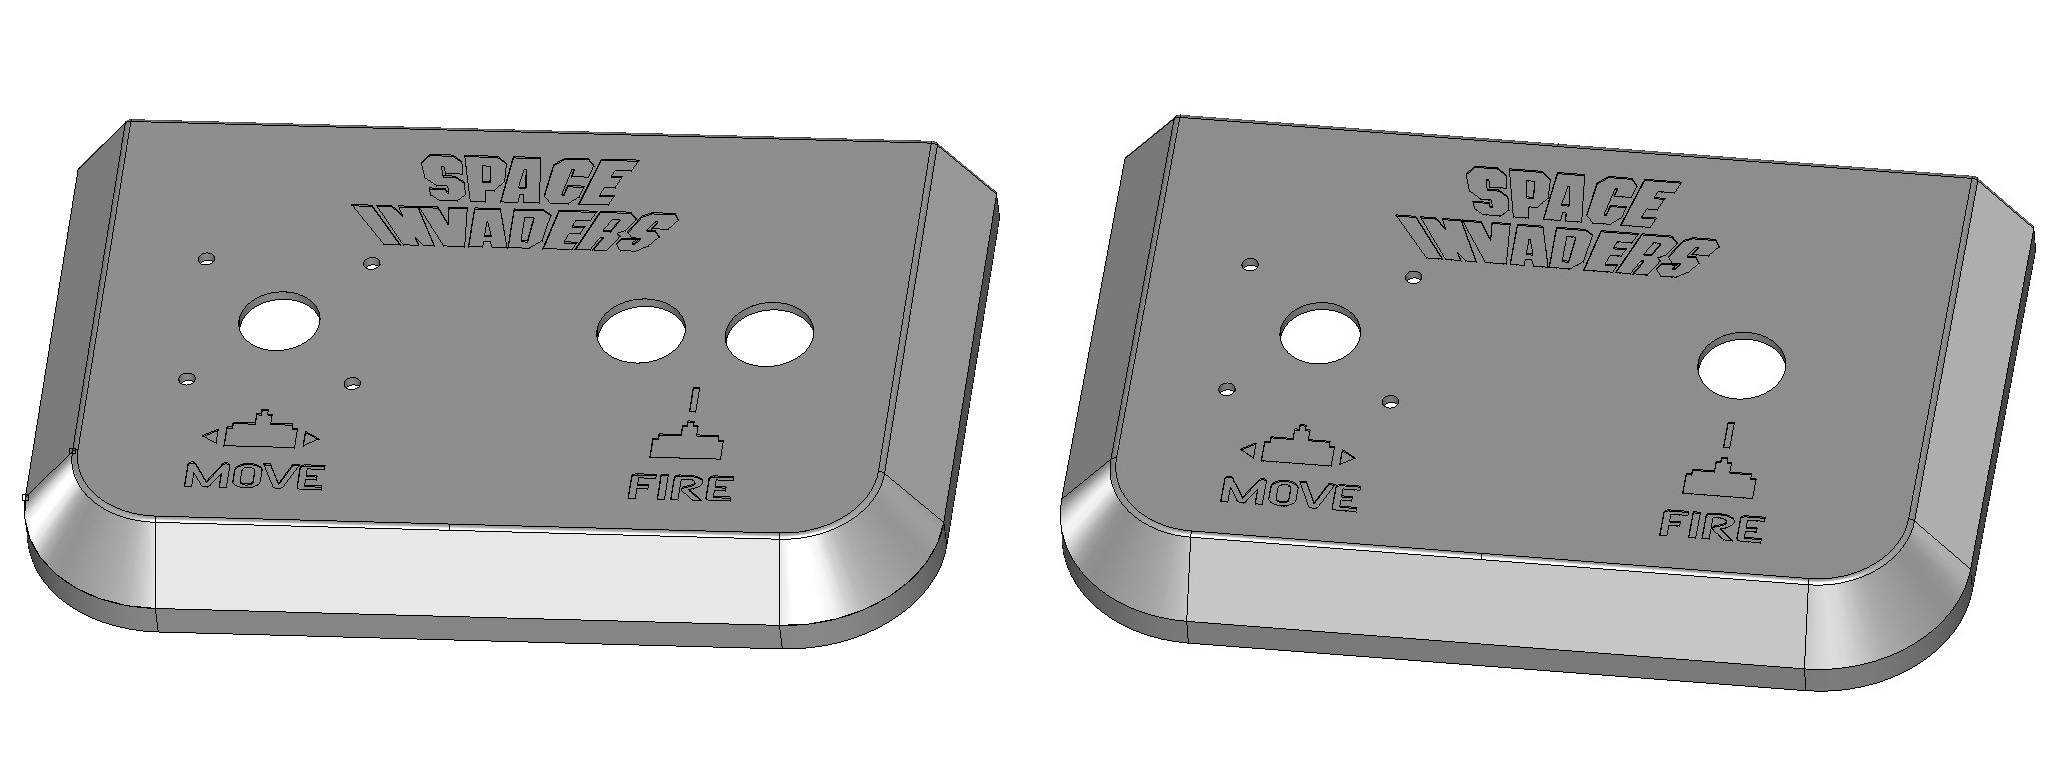
As you can see the controls are off to the left quite a bit *shudder* and that is a huge trigger to a precision engineer like me. I had to move them over to the centre. I just had to. Parts of the planet may have flown off into space or I may have just ceased to exist if I didn't correct this asymmetrical nightmare. Probably.
I made the top part the box and the bottom panel the base. Holes were added to attach the joystick from the top and for a cable gland at the back. Inside the box were corner posts to which M3 hot-nut inserts were pushed into to attach box to base. The base had mating posts with thru holes and countersinks to accept M3 screws to hold the parts together. I even made some inner walls to connect the two parts better with v2.0 of the base. The first version felt a bit ‘gappy’ on assembly.
This controller was meant for an old school computer or console, which primarily only had the one action button. I’m mainly thinking of the Atari 2600 Space Invaders version - which is the only version of it I could play at a friends house, away from the ‘Sleepy Sausage’, back in 1980.
I also modelled a 2 button version. Off the top of my head, the Atari 7800 and Sega Master system had 2 fire buttons and used a standard 9 pin ‘D’ type plug. If anyone were to make one of these (and I encourage you to do so), you could even put a ‘Zero Delay’ USB interface or similar inside and use it on a PC, Mac or Linux computer.
Below is evidence of the one I actually made into a real life controller. You may notice compared to the 3D models (above) that I moved the right hand parts over another few millimetres. My mind is now calm, now that things are more central. You can’t see the underside, but there is a 40mm hole directly under the joystick, which you can turn the ‘gate’ of the joystick from 4 to 8 way. Nice.
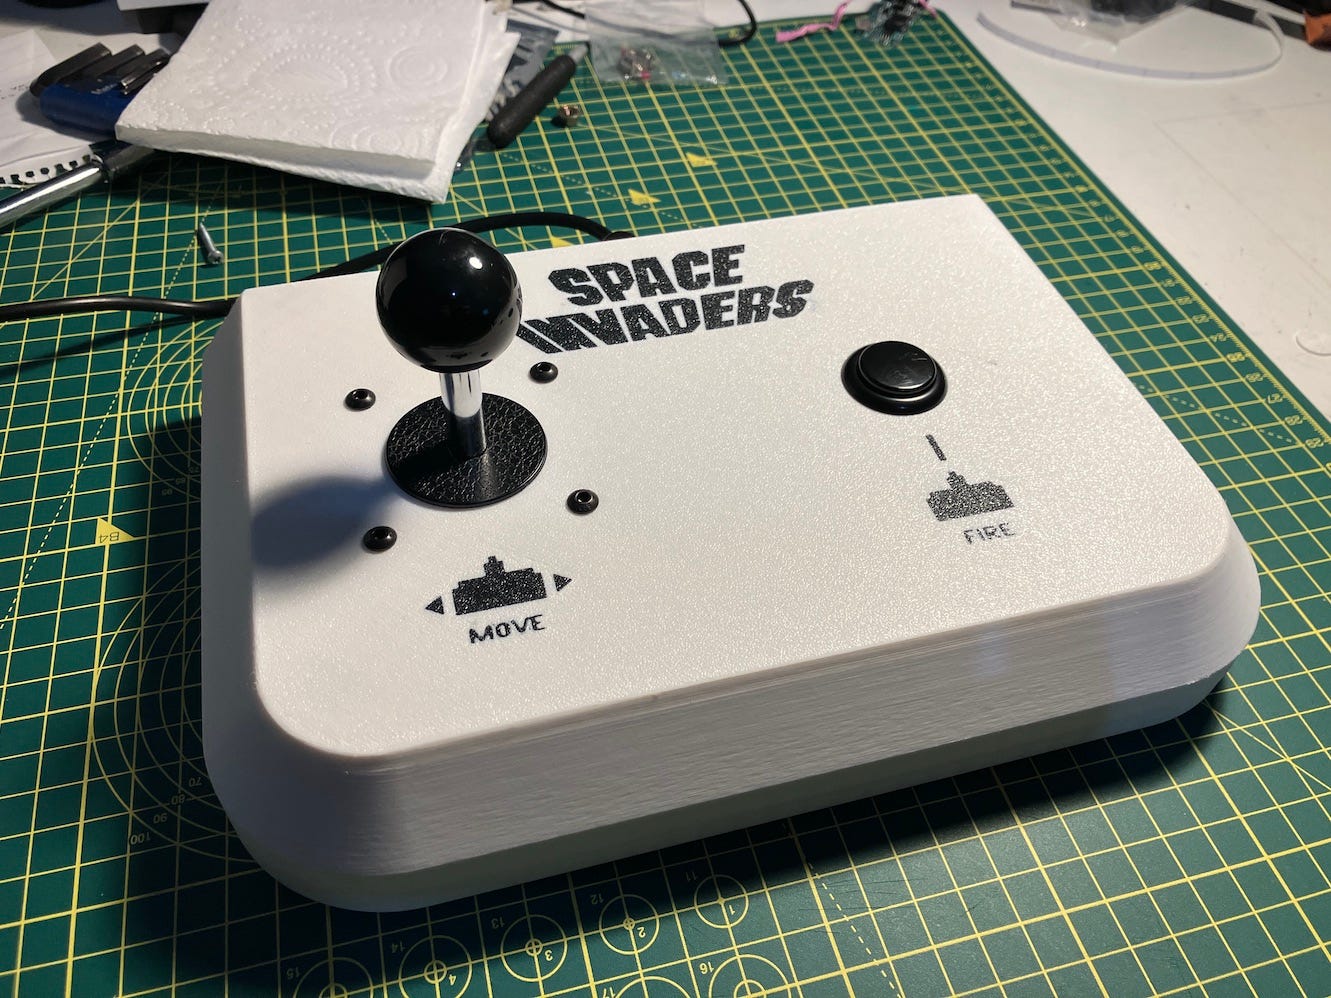
The text and graphics were done with my multi filament 3D printer. These graphics are actually a seperate model that is recessed into the box by 0.5mm, then painted in Bambu studio a different colour to the main box. The project files have been uploaded to Maker World and can be downloaded for free. You can even ‘remix’ it and change stuff if you like.
Other bits you’ll need to finish it off after 3D printing -
Sanwa JLF or copy Joystick
Sanwa OBSF24 button
4x Button head M4 x 10mm screws & M4 nuts
4x M3 ‘hot-nuts’
4x M3 x 10mm countersunk screws
4x 12mm dia rubber bumpons (sticky backed stoppers)
PG7 Cable gland
Megadrive or similar 9 pin ‘D’ plug cable
Internals (for a standard one button ‘Atari’ 9 pin setup)
You will need to screw in the cable gland in the 12mm hole at the back and thread the ‘chopped off’ cable thru the gland. Make sure you cut off the correct end of the extension cable, unless it only has one plug end…
You’ll have to determine what pins are connected to what colour wire in the cable with a multimeter set to continuity (they can vary) and then solder wires from
Pin 1 to UP
Pin 2 to DOWN
Pin 3 to LEFT
Pin 4 to RIGHT
Pin 6 to FIRE
Pin 8 to GROUNDS linked on the joystick AND fire button
Get in touch / Disclaimer
If you actually make one of these for yourself, please let me know how you got on.
I made my version, in the picture above, but then adjusted a few things and made the second (two button) model. I didn’t actually run the adjusted one button version or the two button version through the 3D printer. I did slice them in Bambu Studio and it didn't report any errors. I would advise on using a brim and auto support, just in case any lifting may occur. I had to sand a few areas on the overhanging angles to remove some visible lines. Maybe support would eliminate that? I’m still learning a lot about 3D printing and some pointers from experts would be very welcome. I presume if you don’t have a multi filament system on your printer, it would just print the graphics in the same colour as the box and you simply just wouldn’t see them?
lovely!
and thank you for moving the fire button, the second I looked at their picture my brain had a bit of a lemon juice tick...
😖
A Boxing Day update. My oh my, how you spoil us, readers!
A very nice project indeed.
Hope you are having the most wonderful festivities.