Prelude
As you gorgeous subscribers already know, I recently put out a request for things I could maybe tinker with for this blog. Stuff you are interested in, curious about fixing, or perhaps modding – maybe even something I could even help you with (spoiler : I’ll guess and bluff my way through any of that). My good friend Neil came through for me and asked if I could have a look at his beloved *broken* childhood computer, a much ignored, back in the day, Commodore 16, aka the C16.
A quick note on the 264 series of computers (of which the C16 is part of):
The computers that were released were the C16, Plus 4 and C116 models. There were also a bunch of interesting looking unreleased prototypes. I only ever knew two people who had these computers back in the day. One kid, who was a bit of a nutter, had a Plus 4, and the other kid, who had a C16, had a head like a rugby ball. ‘Nuff said. To most people, the 264 line was a massive flop. These came way after the Commodore 64, which was a HUGE seller and weren’t competitively priced for the market. The C16 and C116 were aimed at budget gaming for us kids (I’m 51), and the Plus 4 was laughably aimed at the business user. It even had some very boring biz-niz software built in that NO ONE has ever used. Ever. There’s a good article on these computers here.
Actually, there was one other wee nipper I know now, but not back then, who had a C16. The aforementioned young Neil, who we’ll affectionately call Mr 20 to 5 – I may upgrade his nickname throughout this blog, depending on how I feel. He was and is still a fan and wanted his boyhood micro brought back to life, presumably so he could play Mr Puniverse and the Berks series of games. Mr 20 to 5 sent me not only a C16, but a Plus 4 as well, in case I could use some parts for testing and/or fixing. Both computers were in non-working condition when they came to me, along with some bits to make a self-diagnosis cartridge. I have had some experience with both of these computers in the past and have managed to bring one of each back to life with some simple fault finding and repairs. Both of those came from Super Jim, the owner of The Retro Hut at the Glasgow Barras market. I bought the Plus 4 for myself, as I had always liked the industrial design of that computer and I repaired the C16 for him to sell at his shop. I remember that I used a diagnostic EPROM rather than the diagnostic cartridge, but they sort of work in the same way.
I certainly will try my bestest. In fact, I’ll go further than that…
Goals
make a diagnostic cartridge out of the extra parts I was sent
repair and make the computer work
recap the mainboard
upgrade the puny 16k memory of the C16 to 64k (the same as the Plus 4)
fit some heatsinks to 3 of the main ICs to give them a longer life
fit an SD2IEC drive (more on that fine piece of hardware later)
make a joystick adaptor. Did I not mention this goofball computer also didn't have a standard 9 pin joystick port? (or cassette port for that matter)
Tinkering
This is what Corporal 20 to 5 sent me. A C16, a Plus 4, and some cartridges to make the diagnostic cart. Two of the carts were useless old software (not games) that I could remove the EPROMs from, reprogram and fit back via sockets. The furthermost left cartridge PCB in the picture was a brand new unit that could be made into any kind of game cartridge or enhanced diagnostic tool.
The first thing I did was open up both computers and have a wee goosey gander inside.
Nothing looked particularly hacked and there was no sign of anything obviously broken or missing. Sergeant 20 to 5 had in the past tried swapping out some of the main ICs from the two computers to try and see if any of them were duff. Problem is, they both could have had duff ICs…
Upon turning on, the main power LED on the computer lit up, but there was no sign of life on the monitor that was hooked up to the computer. This proves that the power supply was working ok, and I also tested that the voltage regulator inside was functioning correctly. This computer uses a straightforward 9v DC power supply (negative polarity). The Plus 4 uses a different kind of supply, similar to the C64 and Vic 20, which has AC and DC voltages. Seems a bit daft for Commodore to have done this back in the day, and nowadays those bulky dual voltage PSUs simply don’t work anymore. If you are using one of those ‘bricks’ you really should swap it for a modern supply. If they fail, they will most likely kill some of the components inside your computer! The voltage regulator takes the 9v DC and knocks it down to +5v, which all the circuitry needs to operate properly. Putting 9v DC into any of the components would break them. Break them forever, dead, so don’t do that.
I then used my own diagnostic tool, which is a burned EPROM that you replace the kernel with inside the computer.
Still got a black screen. Hmm.
I then went on to do the same thing as Mr 20 to 5 did, but I have a known working Plus 4, so my chips *worked*. The C16 now worked with my functional CPU. It also passed all the relevant tests that the diagnostic EPROM program ran. Yay!
The Plus 4 that was also sent had a dead CPU and a dead TED chip. Not so yay.
At first, I got the TED chip and the CPU confused, so went onto the internet to try and find a new (secondhand) or repro TED. These are about £15. I then realised it wasn’t the TED that was faulty, it was the CPU. These CPUs were only made for the 264 line of computers and are now considered rare. They are nearer to £50 and not guaranteed to last that long, as they are now very old stock and were certainly not manufactured for longevity. They also stopped making them when the 264 computers were canned.
Again, a big *not* so yay.
This kinda halted the project. With the CPUs being so costly, it didn’t really make sense continuing to repair, as a whole new computer could be obtained for not much more money, but where is the fun and satisfaction in that? Then along came super Jim from The Retro Hut. I texted Jim and asked if he had any faulty 264 computers that we could perhaps use for a donor CPU.
“I have that one you fixed, remember?” replied Jim.
“How much?” I countered with.
“Make a cheeky offer” I got back.
I didn’t want to make a cheeky offer, as Jim is a friend and does help me out quite a bit. This is why I will NEVER charge him for anything I do, except any parts that I may need to purchase. I kept Mr 20 to 5 in the loop throughout this conversation and he was on the tenterest of tenterhooks.
“Come and see me tomorrow and I’ll sort you out” - this was the message that came back not too long after the last one. Jim certainly came through and gave up the fully working computer for free to the C16 cause. Captain 20 to 5 literally hit the roof with excitement. He now has a hole in his plasterboard ceiling and a bump on his wee heid.
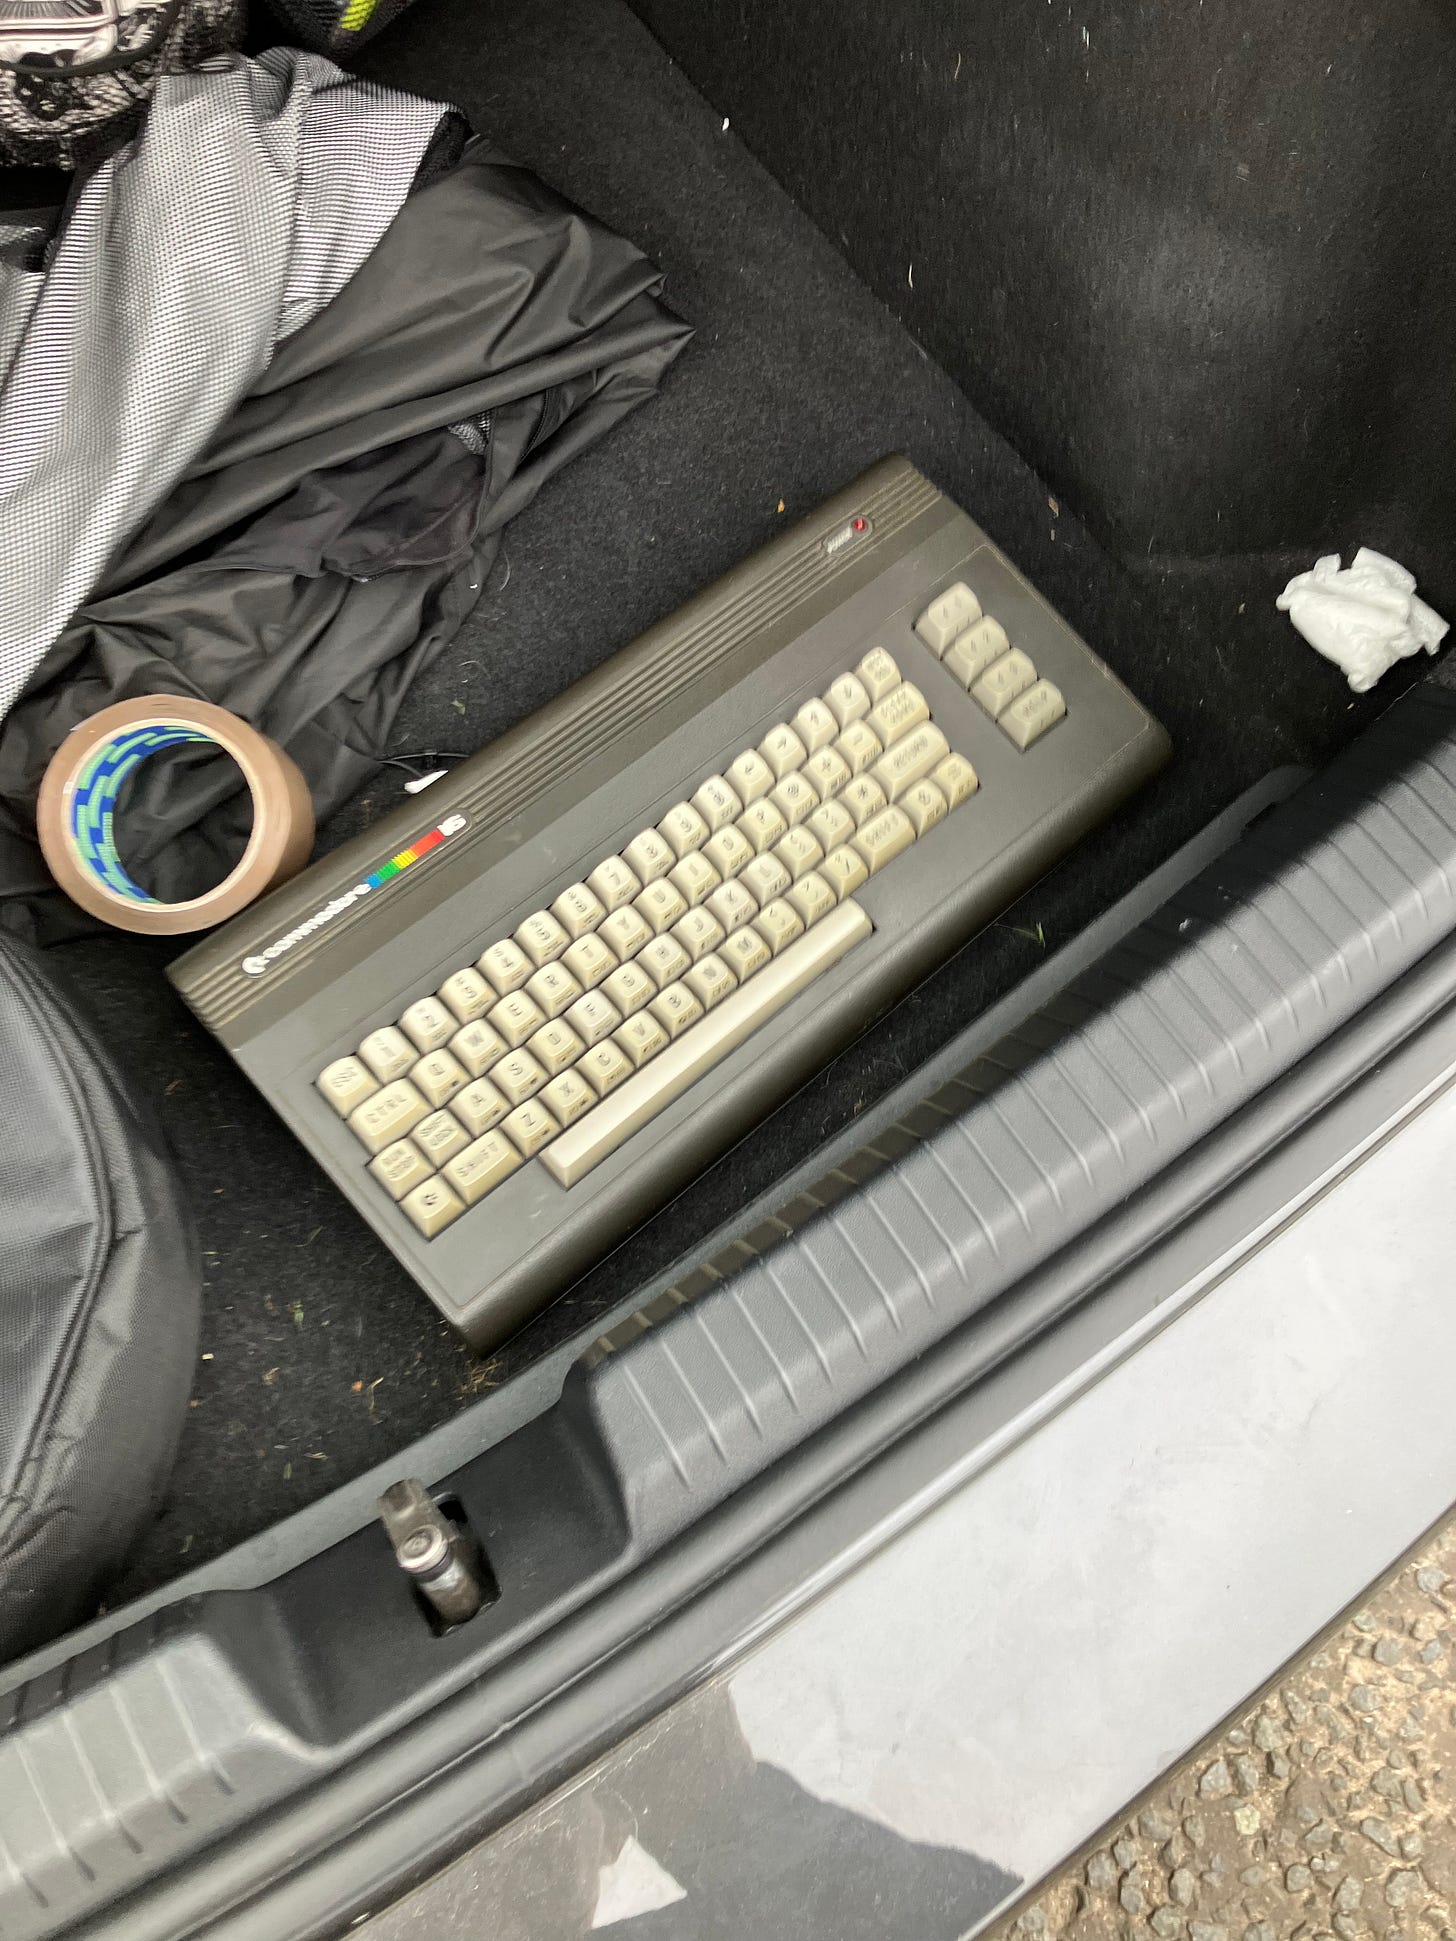
The donated C16. Looks lovely in the back of Jim’s van. He truly is the patron saint of forgotten computers and consoles.
Upgrades
Now we have a fully working C16. Big tick there.
We also have a working Plus 4 (mine) and a non-working Plus 4 and C16. More on those in the conclusion at the end of this blog.
I ordered two SD2IEC units from The Future Was 8 Bit – one for Major 20 to 5 and one for my own Plus 4.
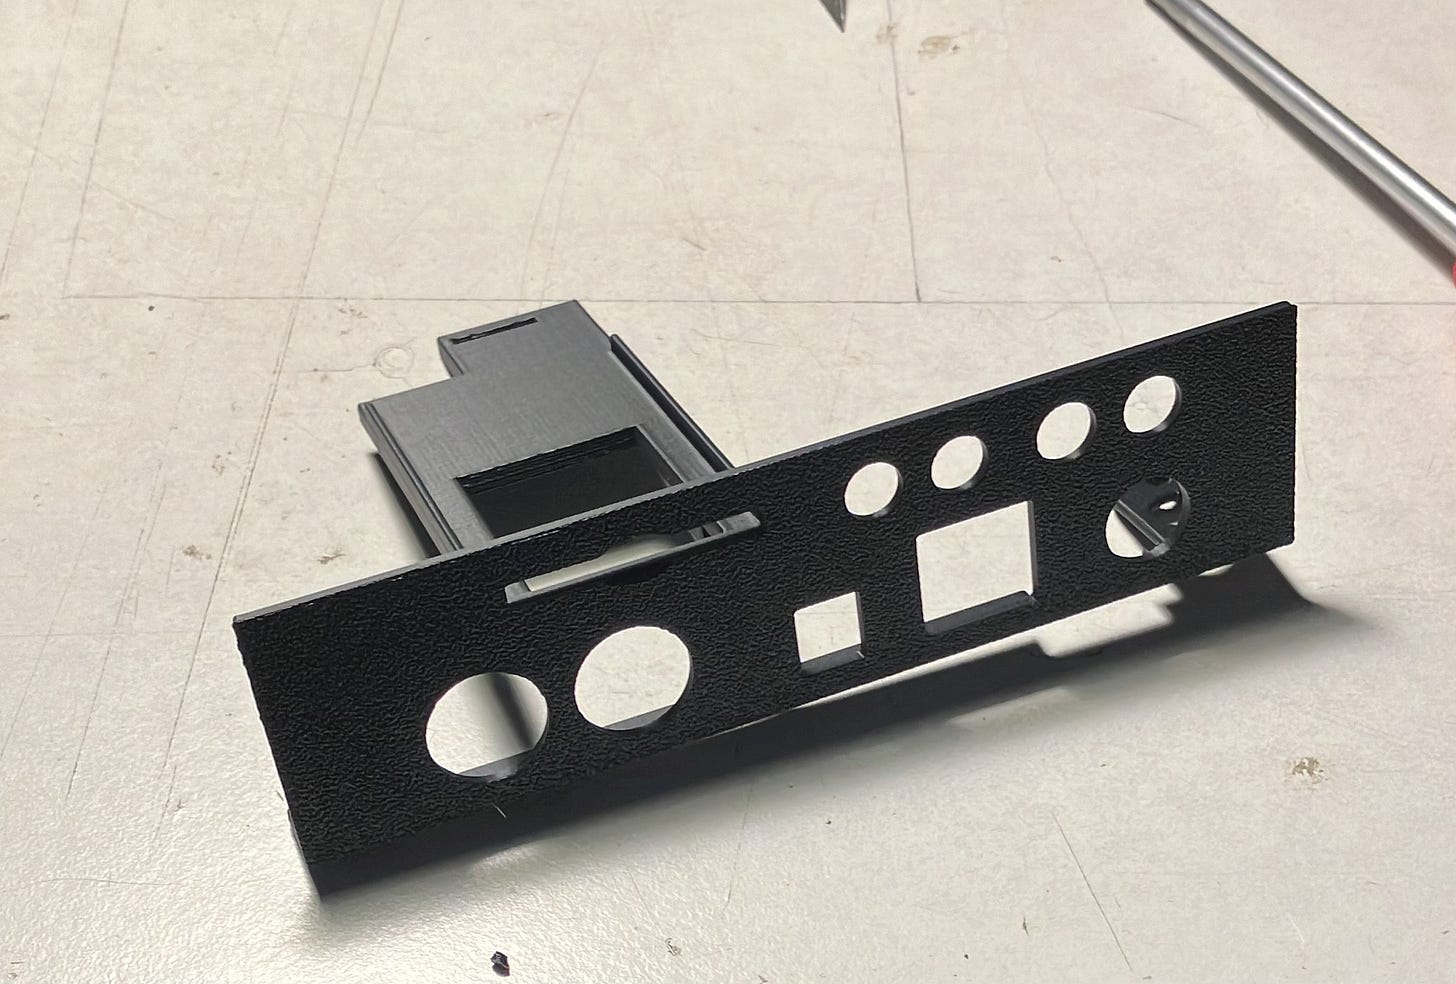
I got the internal ones (without the fancy cases) as they sit inside the computer and don’t have the data and power cables outside of the computer. Everything is neatly inside and you hardly see it at all. There is just a small slit on the right-hand side to insert and remove the SD card. Of course, we are not slicing up Mr 20 to 5’s beloved brown computer with a Dremel or other whirly cutting device. We will be remaking a nice side panel on the 3D printer and replacing that bent up piece of metal. Oh, here it is now:
Files for a Commodore 64 one can be found right here. Many thanks to Gaz Marshall for making the Clasclip and Alleged_geek for the C16 remixed version (pictured above).
The next chore was to replace the caps. This was a five minute job as there’s only about 5 electrolytic capacitors on a C16 mainboard, and I had the common value ones in my stock bins already. Always pay attention to the polarity of the caps. Do not put them in the wrong way, otherwise they will have a small bang bang and release the smelly magic smoke (bad).
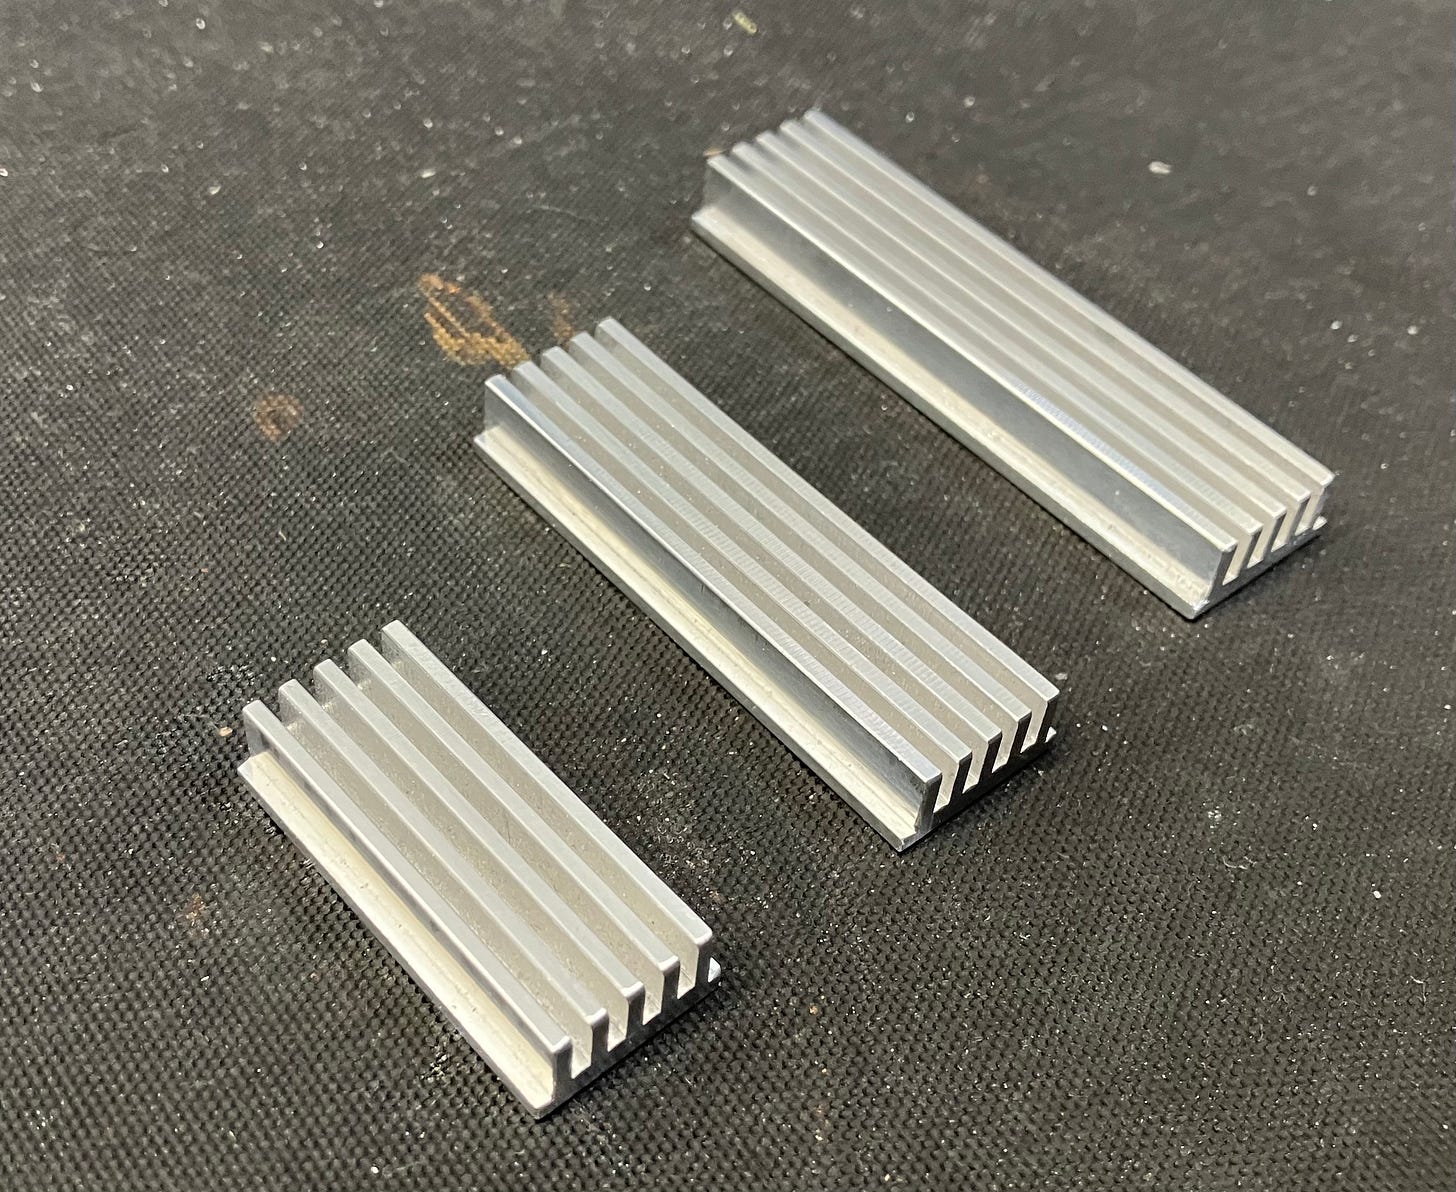
A common fault of these computers, as we have proven already, is the CPU and TED chips overheating over time and failing. A heatsink will certainly help. The Plus 4 has a metal shielded box around the TED, and the C16 normally has a shield over the whole motherboard. Both double up as a heatsink for these problem chips. This particular C16 and the original both had their shields missing. I bet you can guess who wasn’t just going to buy some cheap heatsinks and fit them, but over-engineer some out of solid aluminium?
Yes I did.
Before and after I attacked them with a big scary CNC machine.
Ooooh. They look like metal stickle bricks. Remember them, kids?
Now onto the memory upgrade. Most software companies (read that as games companies) adhered to the lowest common denominator and made games fit into the tiny memory of the C16. Sixteen minuscule kilobytes, when most computers of the day were usually 48k to 128k. I had to order some 41464 memory chips because, shock horror, I didn’t have a stock of them. The two existing 4416s needed to be unsoldered, sockets fitted, and replaced with the new 41464 chips. Then, two other logic chips needed certain legs bent up and wired to two specific points on the mainboard to enable the Goliath 64k to function. The instructions for this that I used are here. This was an easy enough job, but care must be taken not to lift tracks from the main PCB when removing old chips. I used plenty of new solder, flux, and loving care to do this. I even whispered loving psalms as I worked to keep the general air zen-like.
This picture is of one of the C16s that had already had some faulty RAM replaced in the past. The tell tale sign is the 4416 ram (8k) in one of the sockets. From factory, they would have been soldered to the main board.
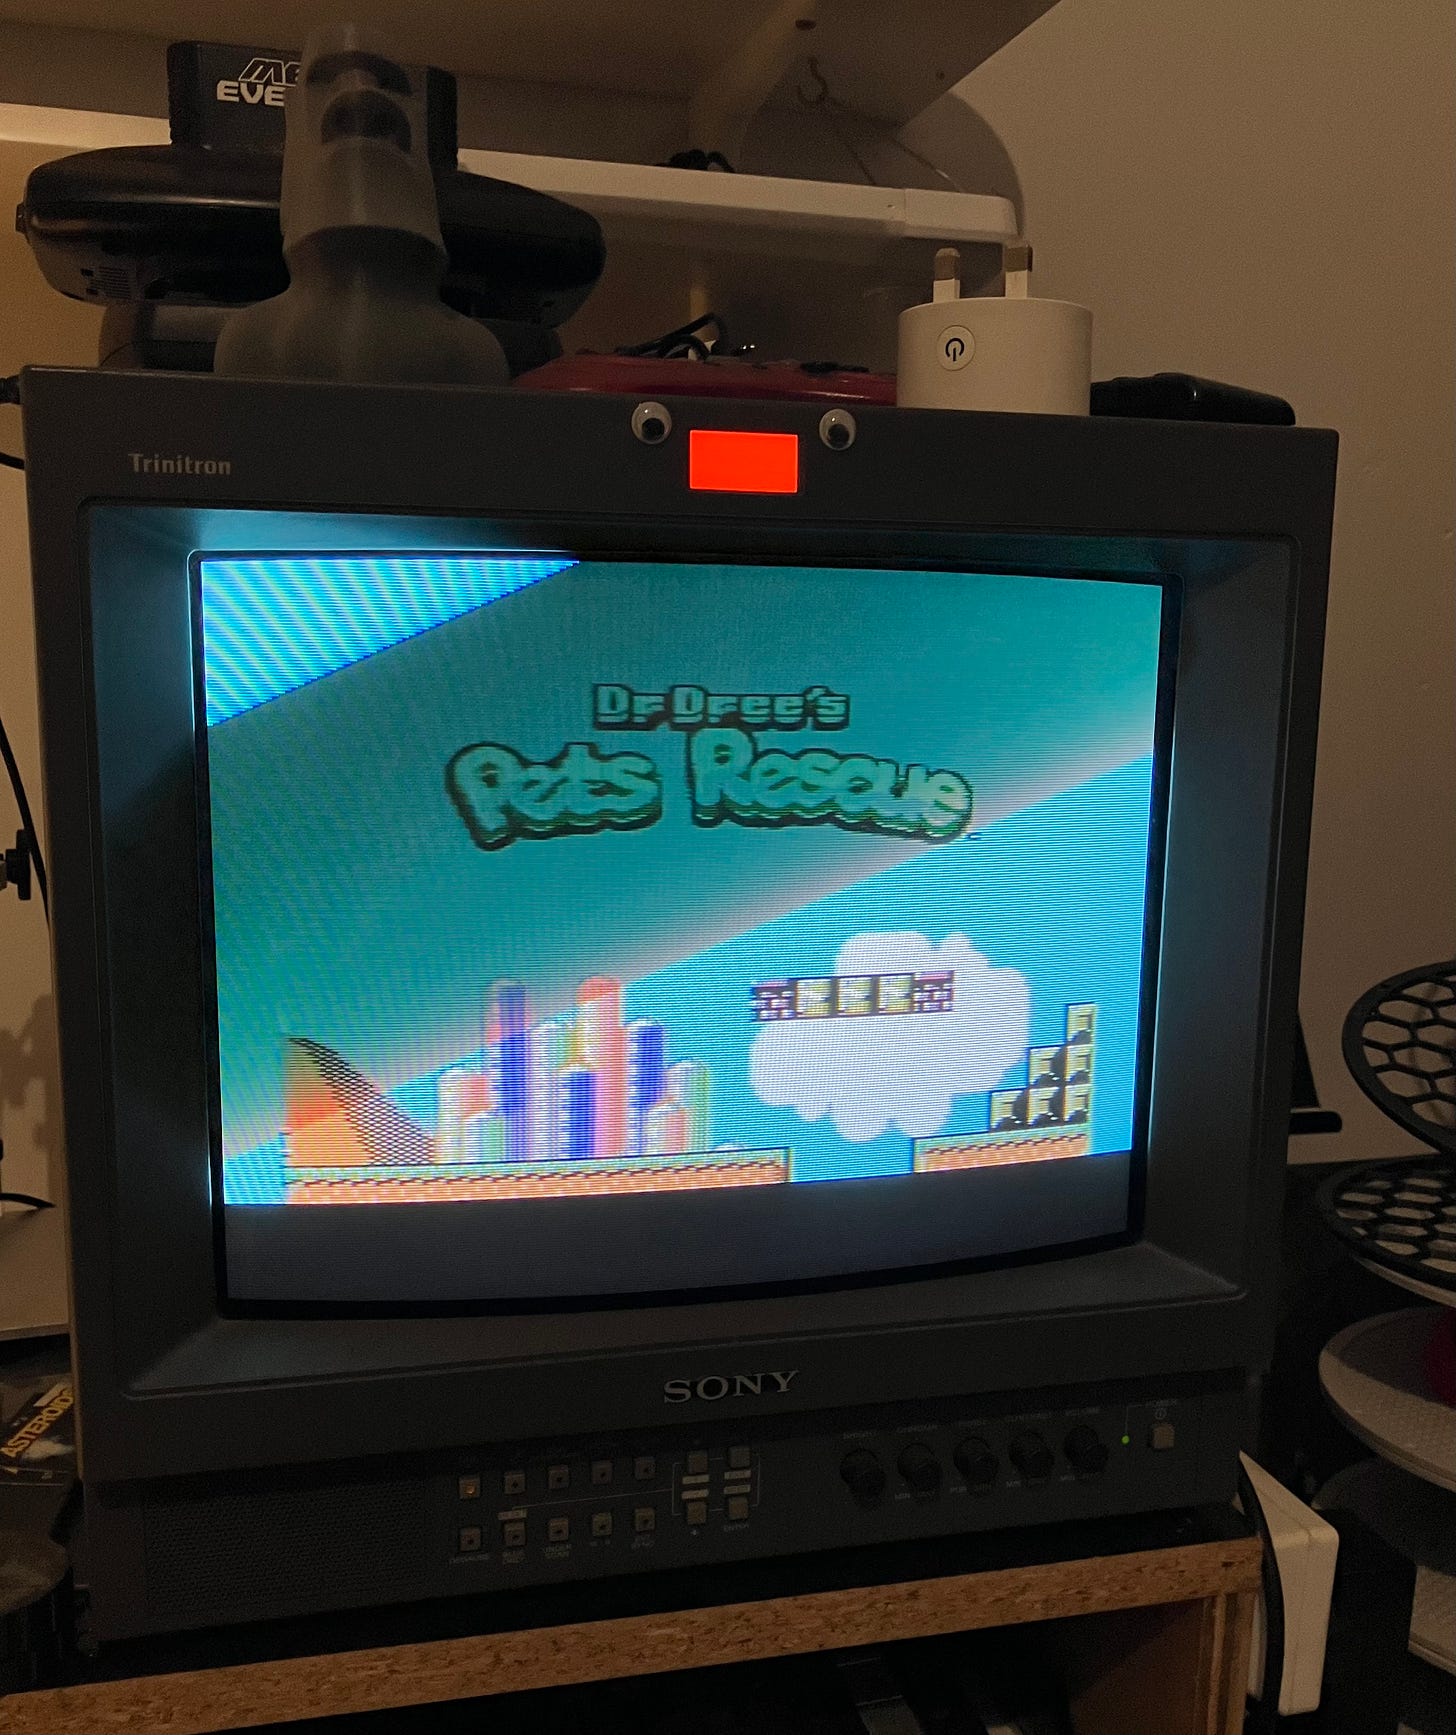
Here is proof the RAM was working, as Pets Rescue is a 64k game. However, another tinkering was required to actually play this game. A joystick adapter to adapt a normal to goodness 9 pin joystick to the pesky 264 series of computers weird mini DIN socket joystick port. Sheesh.
I found a pinout of the 8 pin mini DIN, but the problem with a lot of pinouts is that the pictures don’t show you from what position you are looking at them. They could be in reverse to what you actually need. This isn’t just a minor inconvenience in our case, as there is a 5v pin in there and we really don’t want to be wiring that up at all, as it tends to fry TED chips. As I understand, the TED takes care of some input/output functions and is susceptible to voltage spikes, hence why C16 computer joysticks don’t usually have auto or turbo fire functions. I had to be a bit careful with this, so I just wired up what I was pretty sure was UP and GROUND, just for testing. To do some testing, I wrote a 2 line BASIC program.
10 PRINT JOY (1)
20 GOTO 10
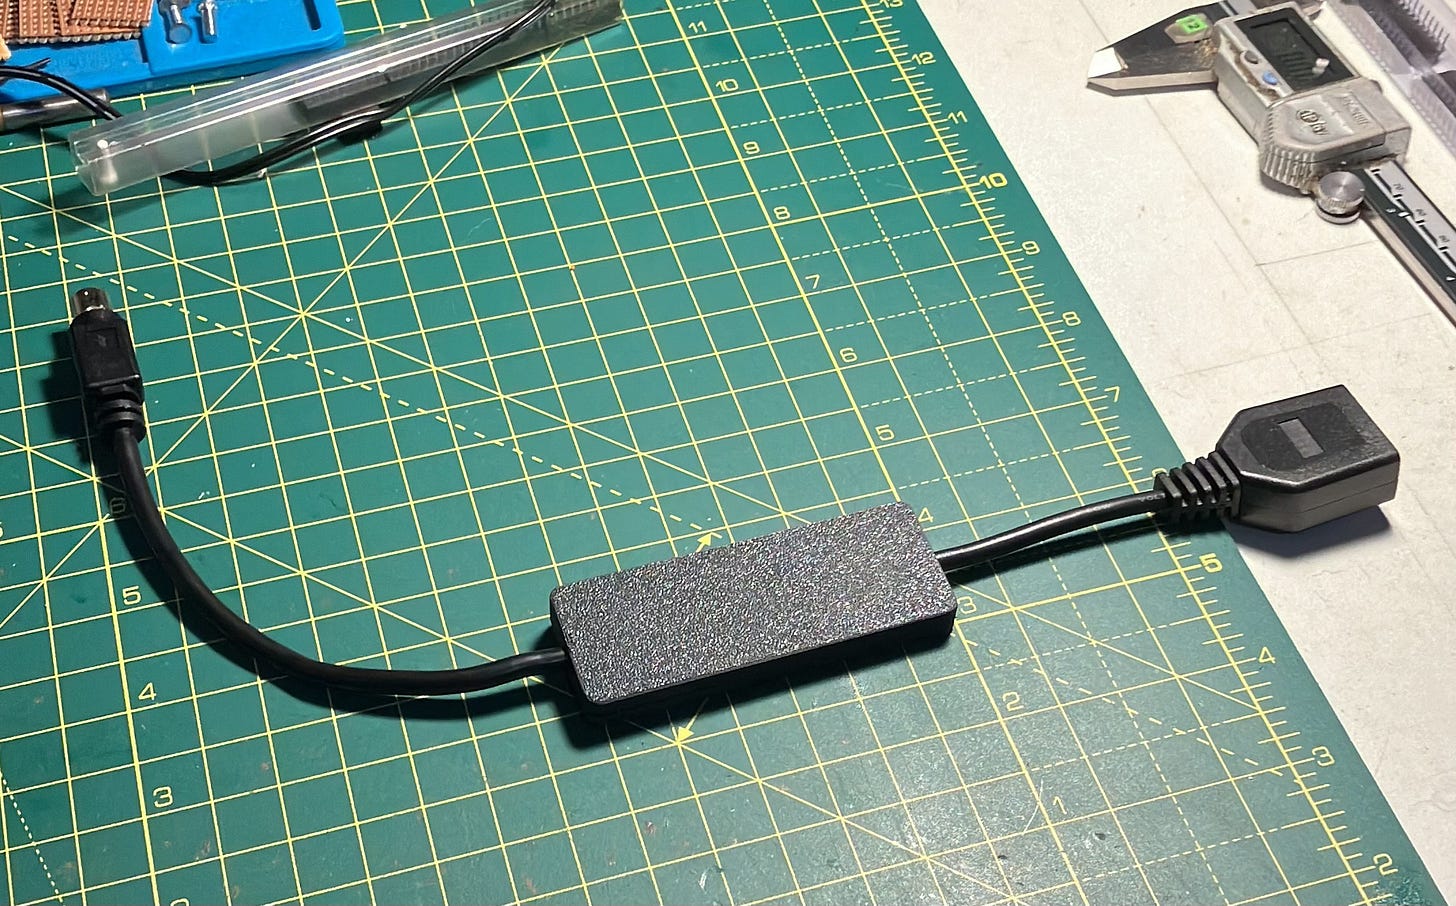
This program loop looked for joystick inputs on port 1, and displayed a number back to the user from 1 (UP or NORTH), and increasing numbers clockwise to 8 to show the diagonals and cardinal directions. It also displayed 128 for the fire button. I carefully did this and it was wired the opposite way around. Instead of receiving a 1 back for UP, I got a 5, which is DOWN. I then reversed my wiring diagram and I was golden. I used a cut off moulded mini DIN plug (a PC Engine joystick cable, also used for old Apple computer cables) and a socket ended 9 pin D plug for the standard joystick end. I wired them together with a bit of copper perfboard and made a nice 3D printed case to entomb the sacred wire connections and keep them from being pulled apart by epoxy resin(ing) them together inside the case.
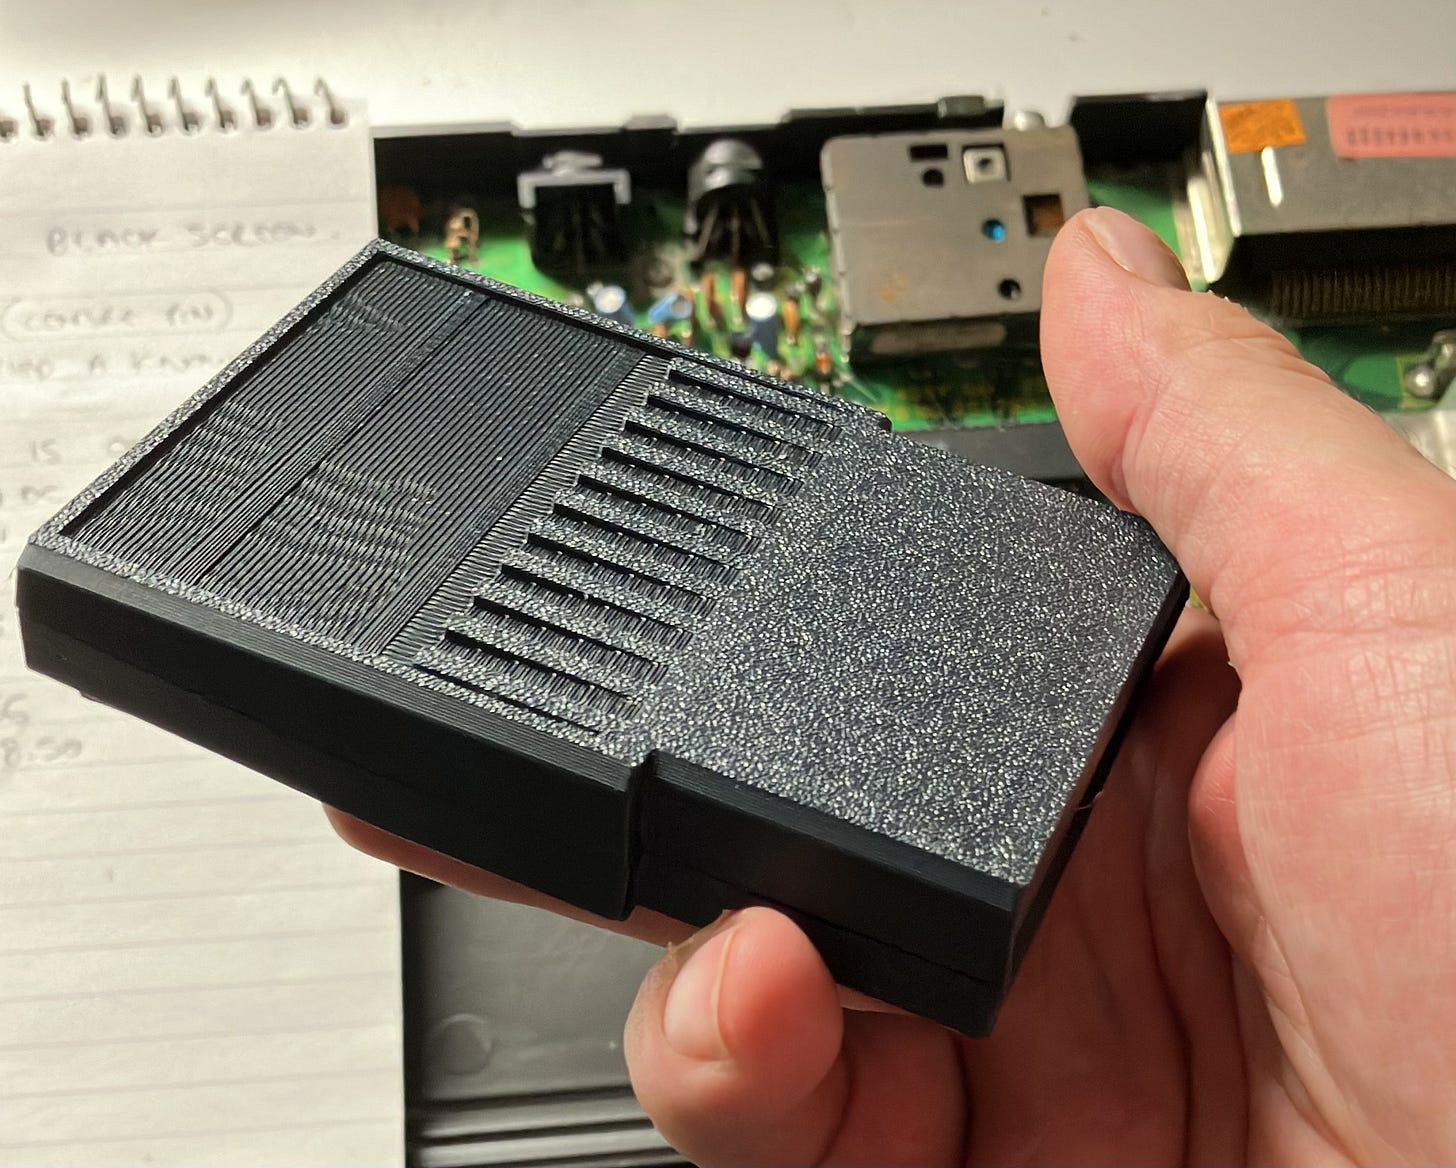
For the last part of this tinkering (I forgot about these things), I made the 264 diagnostic cartridge. This was just unsoldering the left hand eprom from the cartridge and installing a socketed burned EPROM in the left hand position on the PCB. The cartridge wouldn’t be a cartridge without a case, now, would it? My 3D printer made short work of that. Again, the files for that are on Thingiverse. Just search for Commodore 16 cartridge. It just needs a nice label now to hide that ugly print area at the top (not my design!)
Conclusion
I managed everything to make Mr 20 to 5’s day, month and possibly year. This included repairing the C16 (or replacing it, thanks to Jim), upgrading the memory, adding an SD2IEC drive emulator, recapping the mainboard, and heatsinking vulnerable chips. To add to this, I did the joystick port adapter and the diagnostic cart, in case anything goes pop, bang or wallop in the future and needs to be diagnosed.
But what of the other C16 and Plus 4 that is still not working, I hear you ask?
Well, you just had to go there, didn’t you? I have a plan for those. I have ordered some very clever adaptors that use a very common and still easy to buy CPU, the 6502, to bring these computers back to life. These adapters, along with the required processor, are only £25 each, half the price of the original CPU. Basically, the 8501 is VERY similar to the 6502 (used widely in the 80s) and 6510 (found in Commodore 64s) and the clever adapter makes a 6502 act exactly as it should to make the 264 computers function. TED reproductions have also been made too, so one of those is also on its way. When these all come and I get time to be Mr Fix It, I’ll report back.
In the mean time, I’ll send all of Mr 20 to 5’s Christmases back to him - fixed, modded, and especially tinkered with. You should be able to hear his sobs of joy from wherever you are in the world…


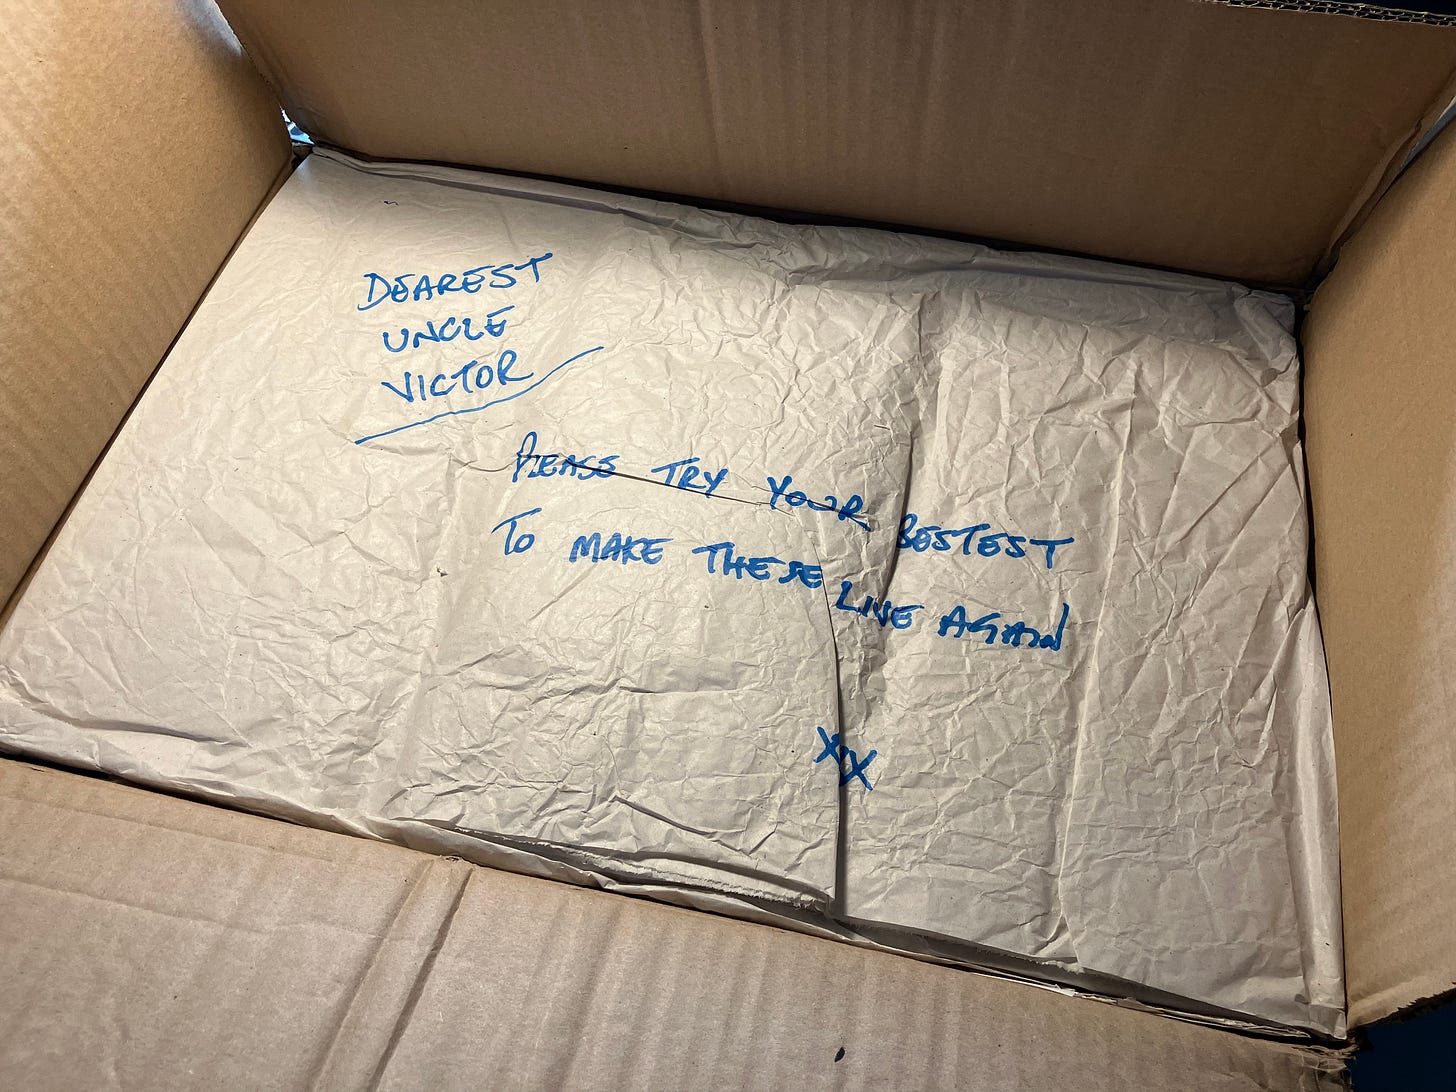




I simply do not have the superlatives in my vocabulary to express my excitement and gratitude. Top Tinkering has just reached new heights!
Thank you.
Well done Vic! I couldn't have done better myself, although I do think you should have added some kind of fruit preserve to the end of that din plug.