
The Ultimate Emulation Machine (Part 3)
Nearly There!

This is where the project takes proper shape - the monitor part.
This blog entry covers the top part of the build. It consists of a large 3D printed enclosure that holds the screen, NUC PC, speakers, USB Hub and all the cable gubbins to tie everything altogether with actual magic*
*Grow up, magic isn’t real.
…Continuing…
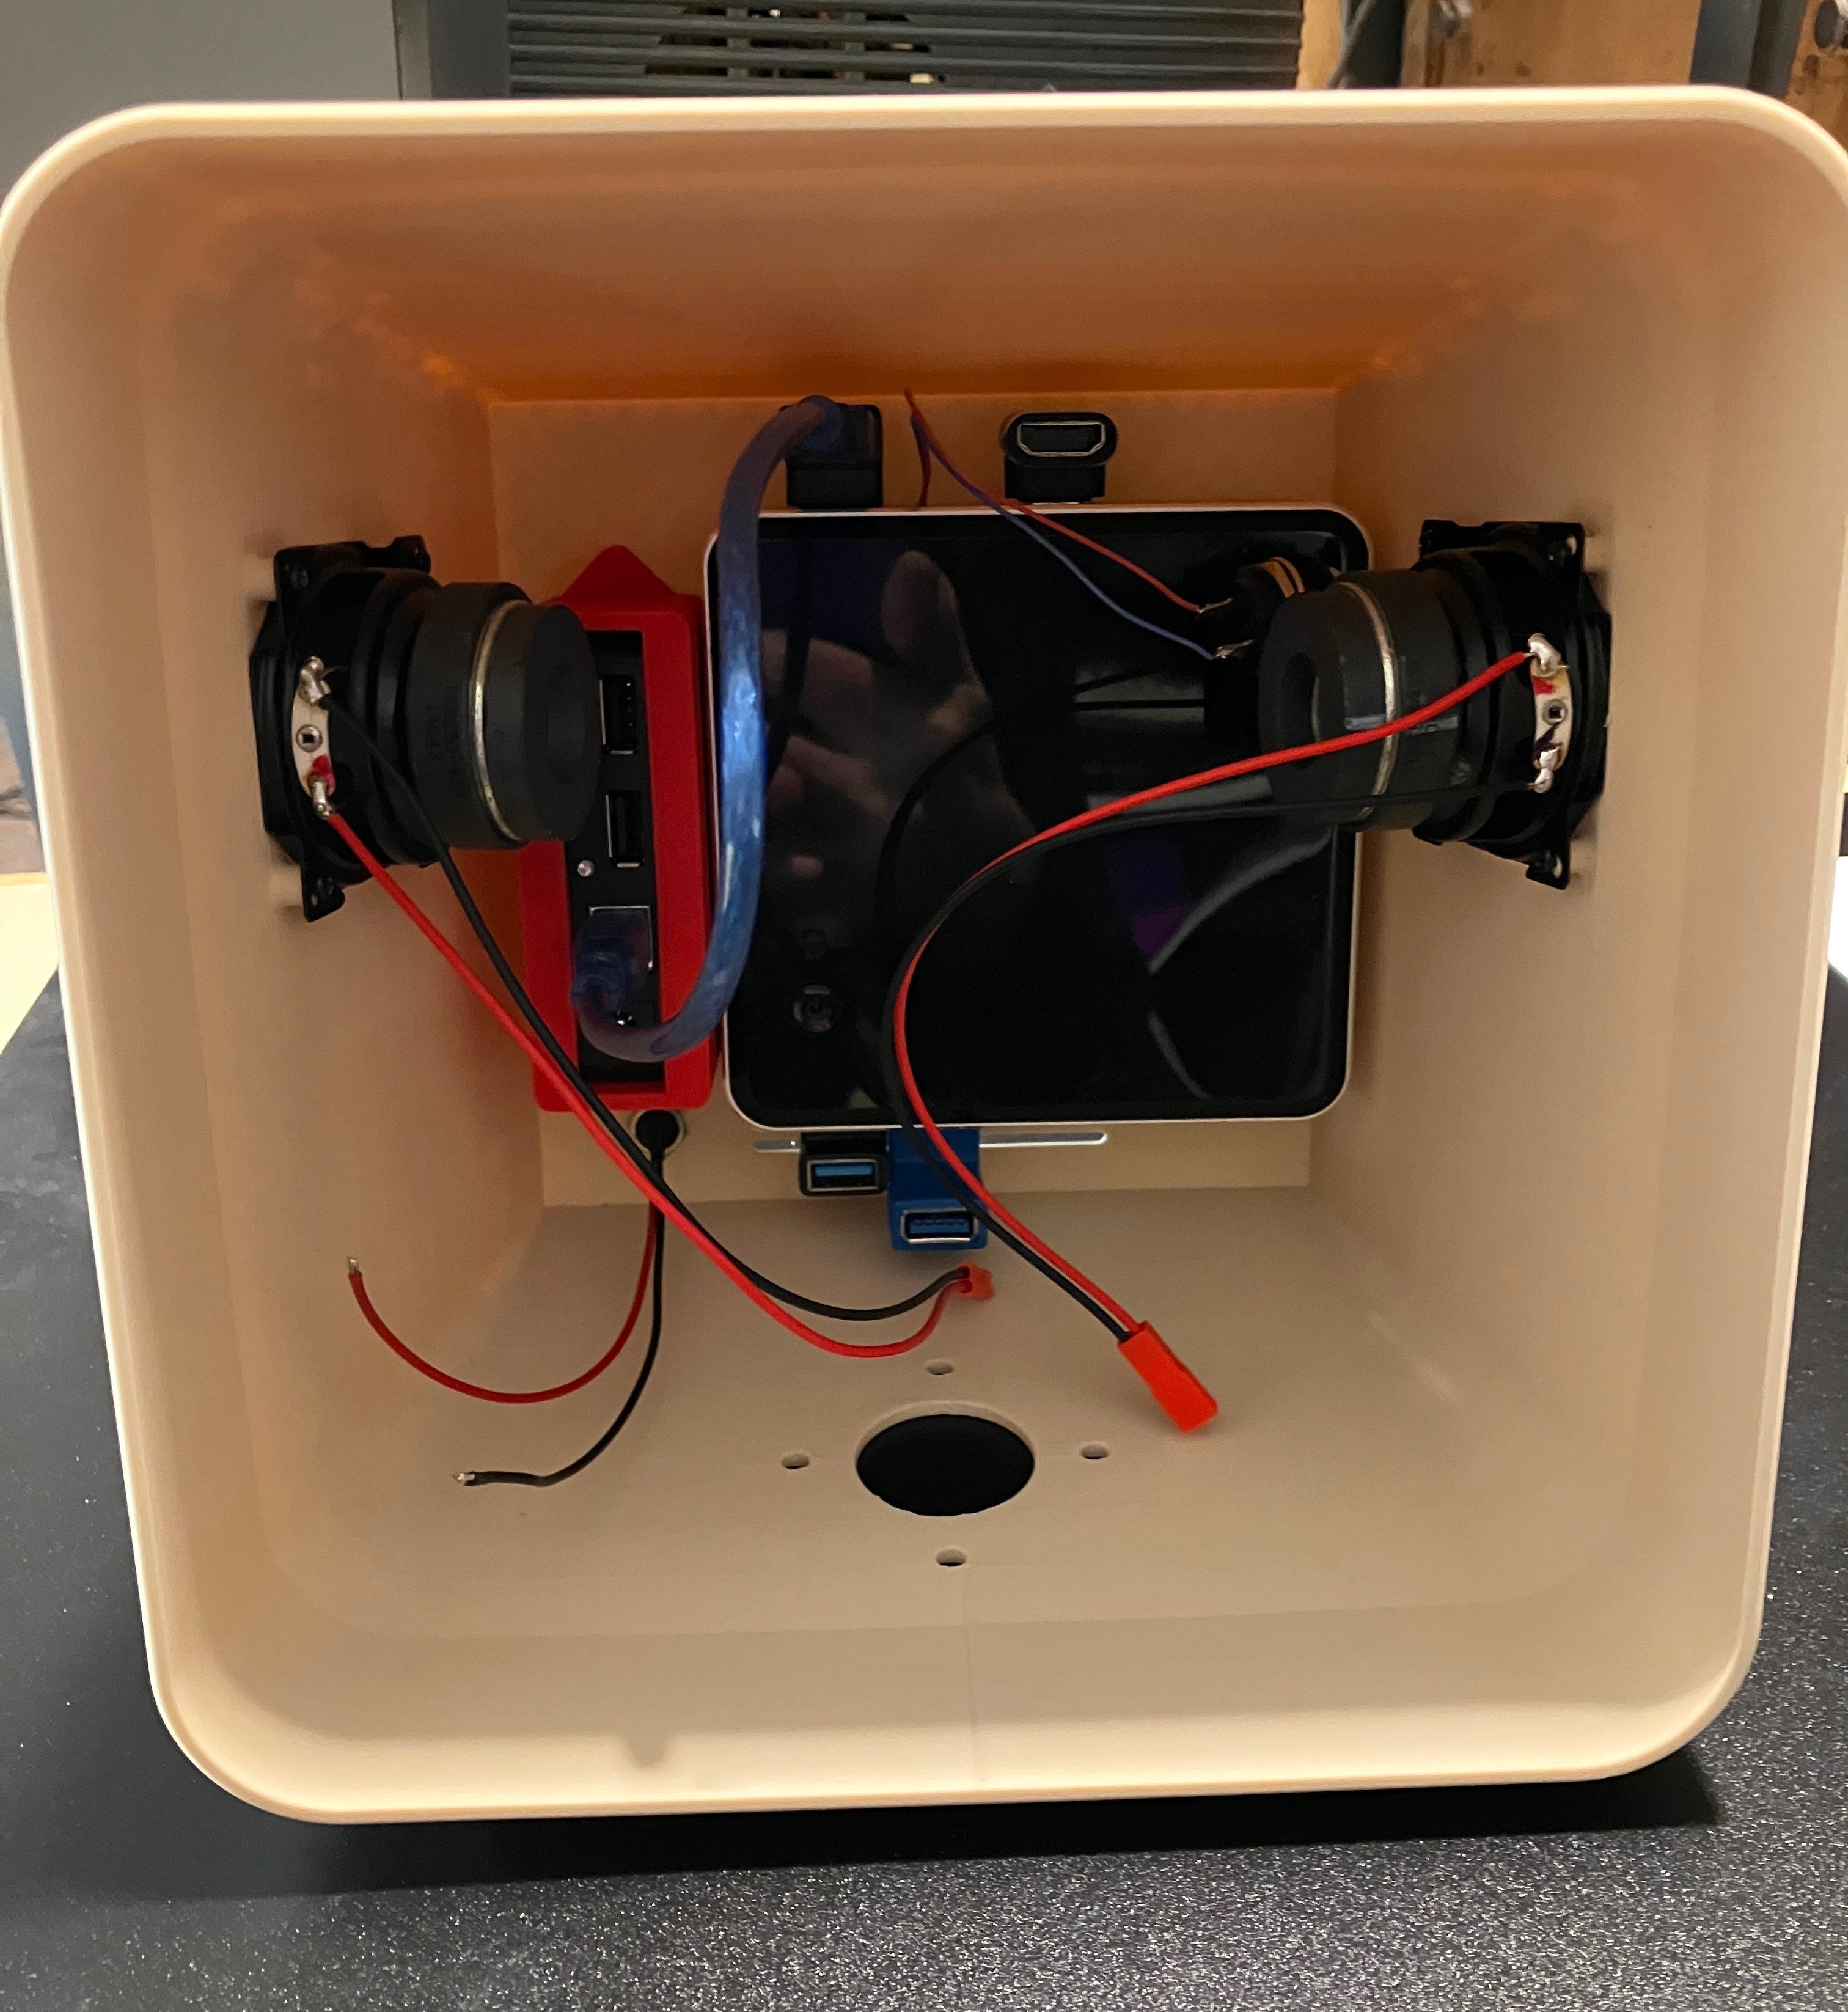
Continuing on from the last (but one) blog entry, I had got the base box finished with buttons, volume control, audio amp and joystick to key interface dealt with. I now needed to put the top portion together. This consisted of a 3D printed box - incidentally, the largest thing I have ever printed. It was 206mm square x 170mm deep with side speaker holes, grills and a rear aperture for the USB hub. The print took approximately nine hours and came out fantastically (apart from some trivial bits I forgot to model into the design, as usual, FFS [palm emoji] )
Please note, no monitor surround holes to attach the front part…
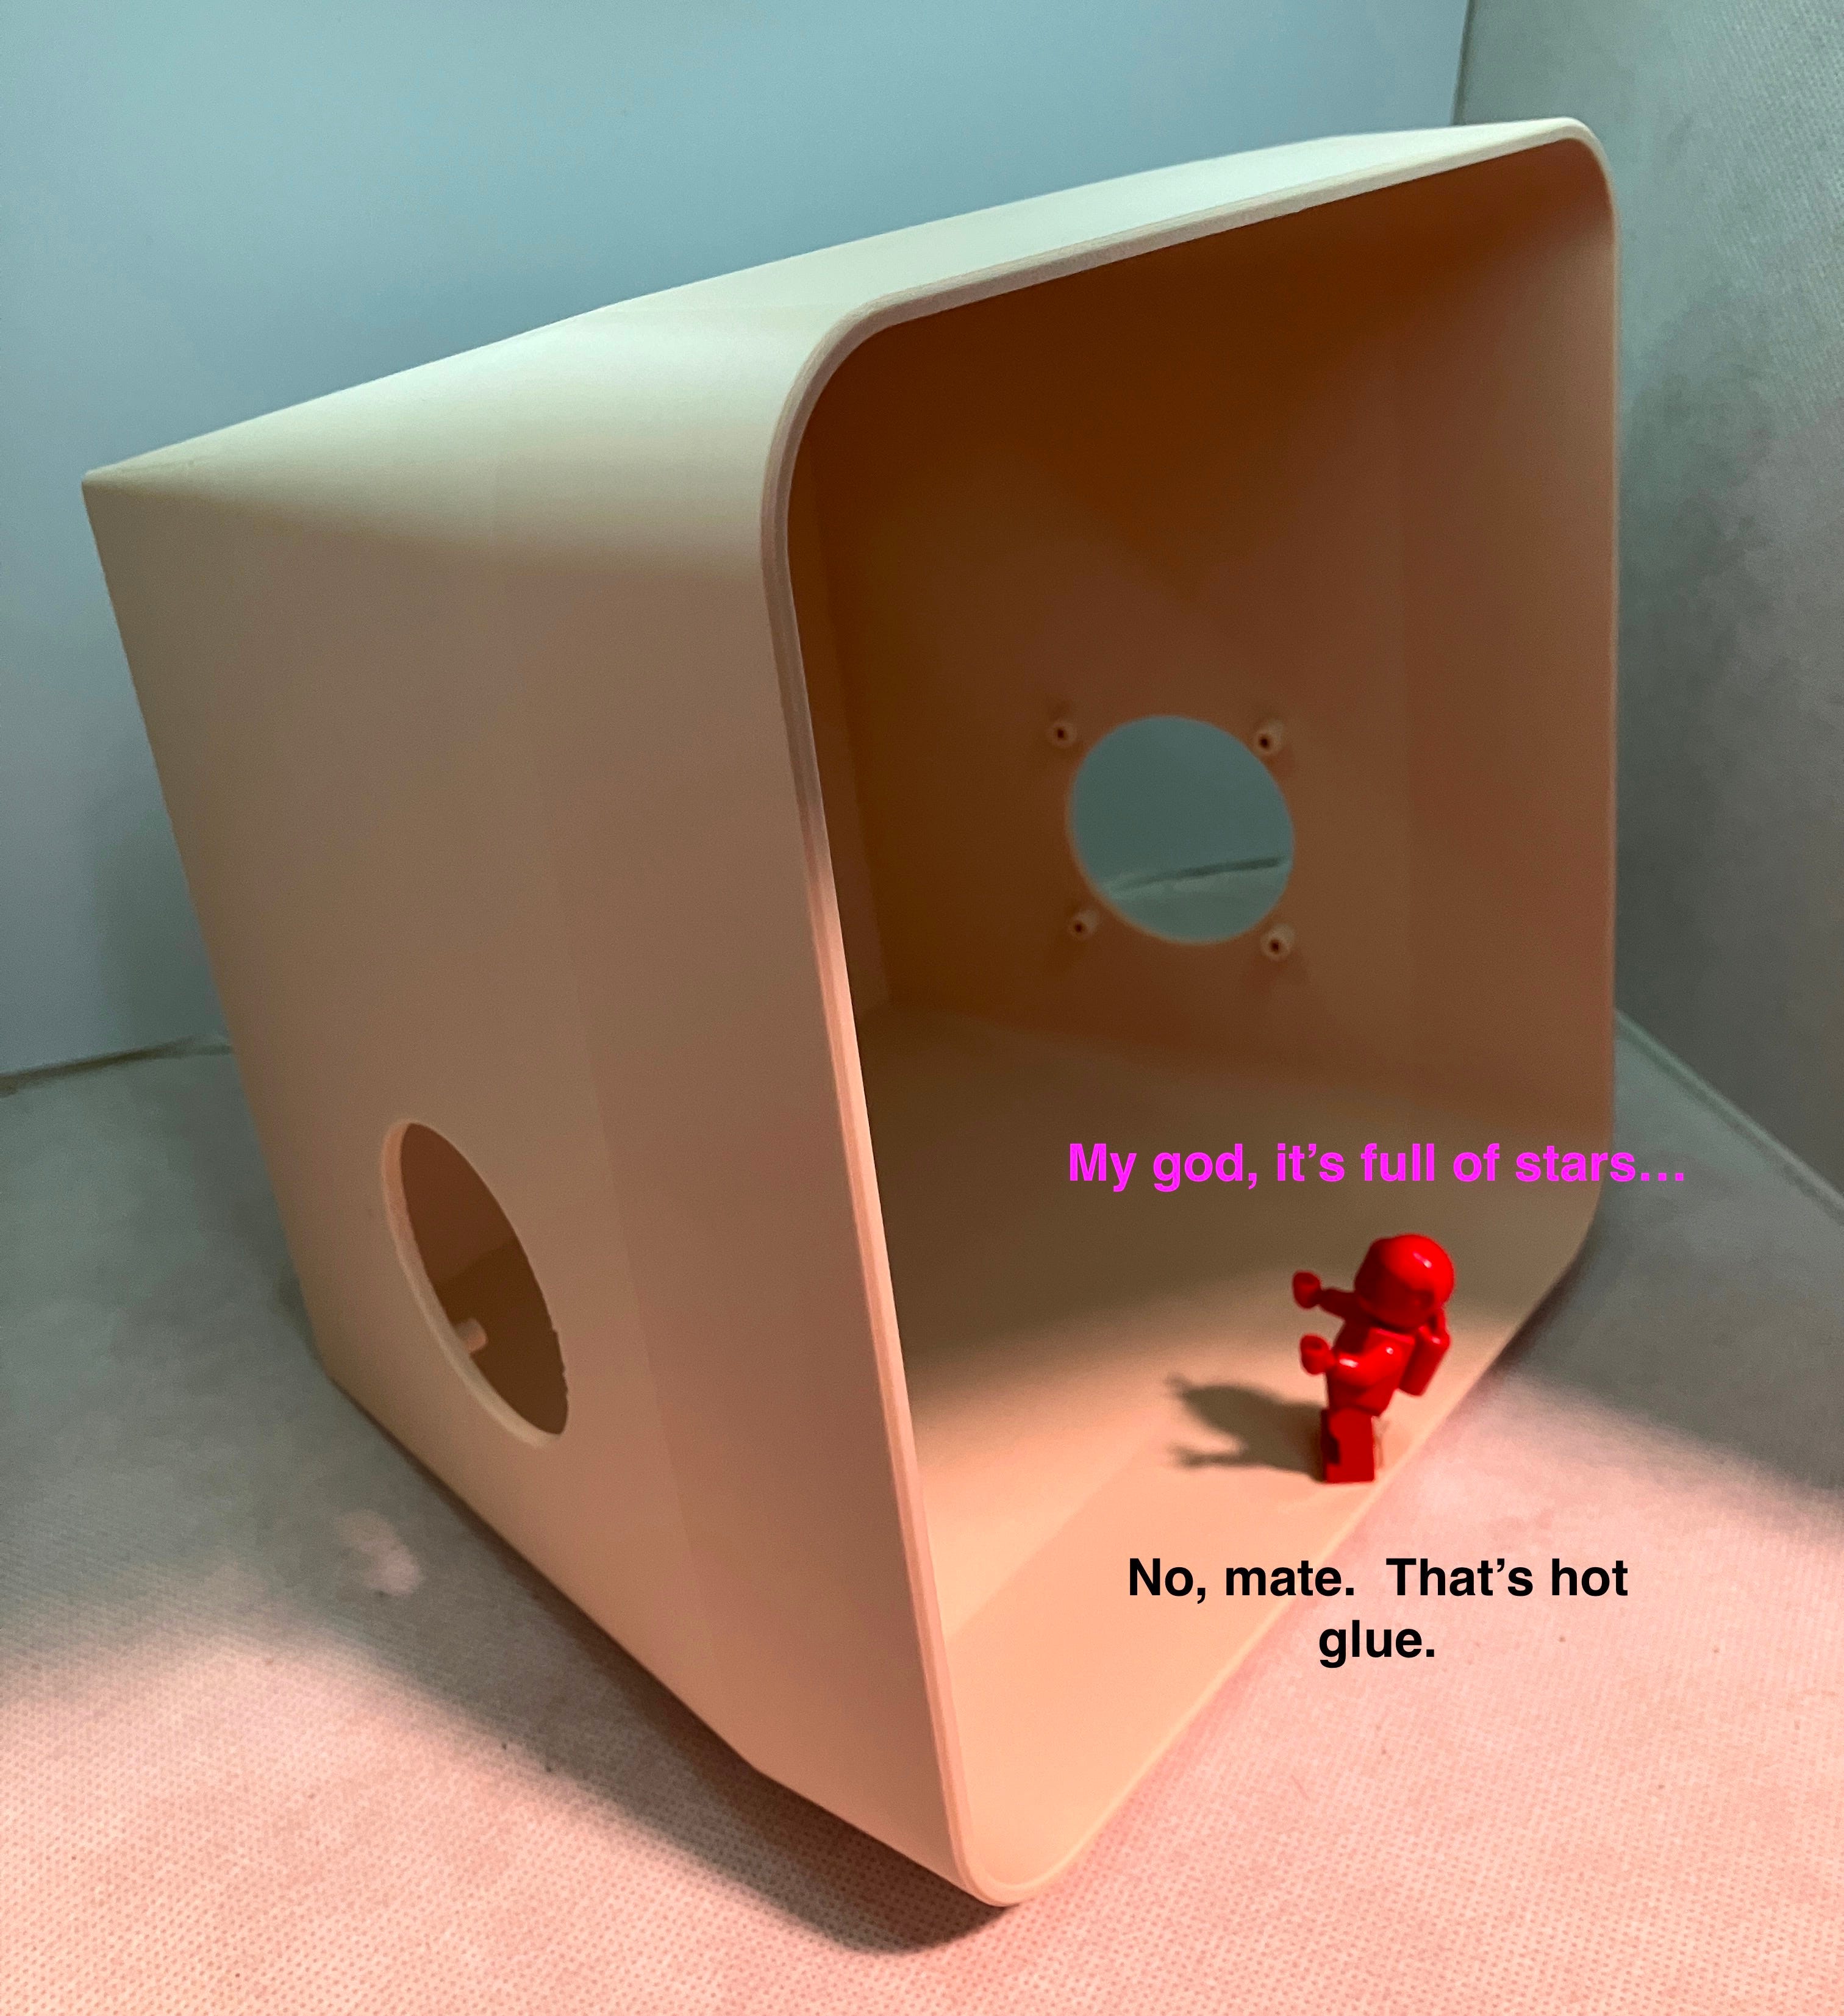
The guy in red is actually a six foot astronaut. This picture is a scale representation.
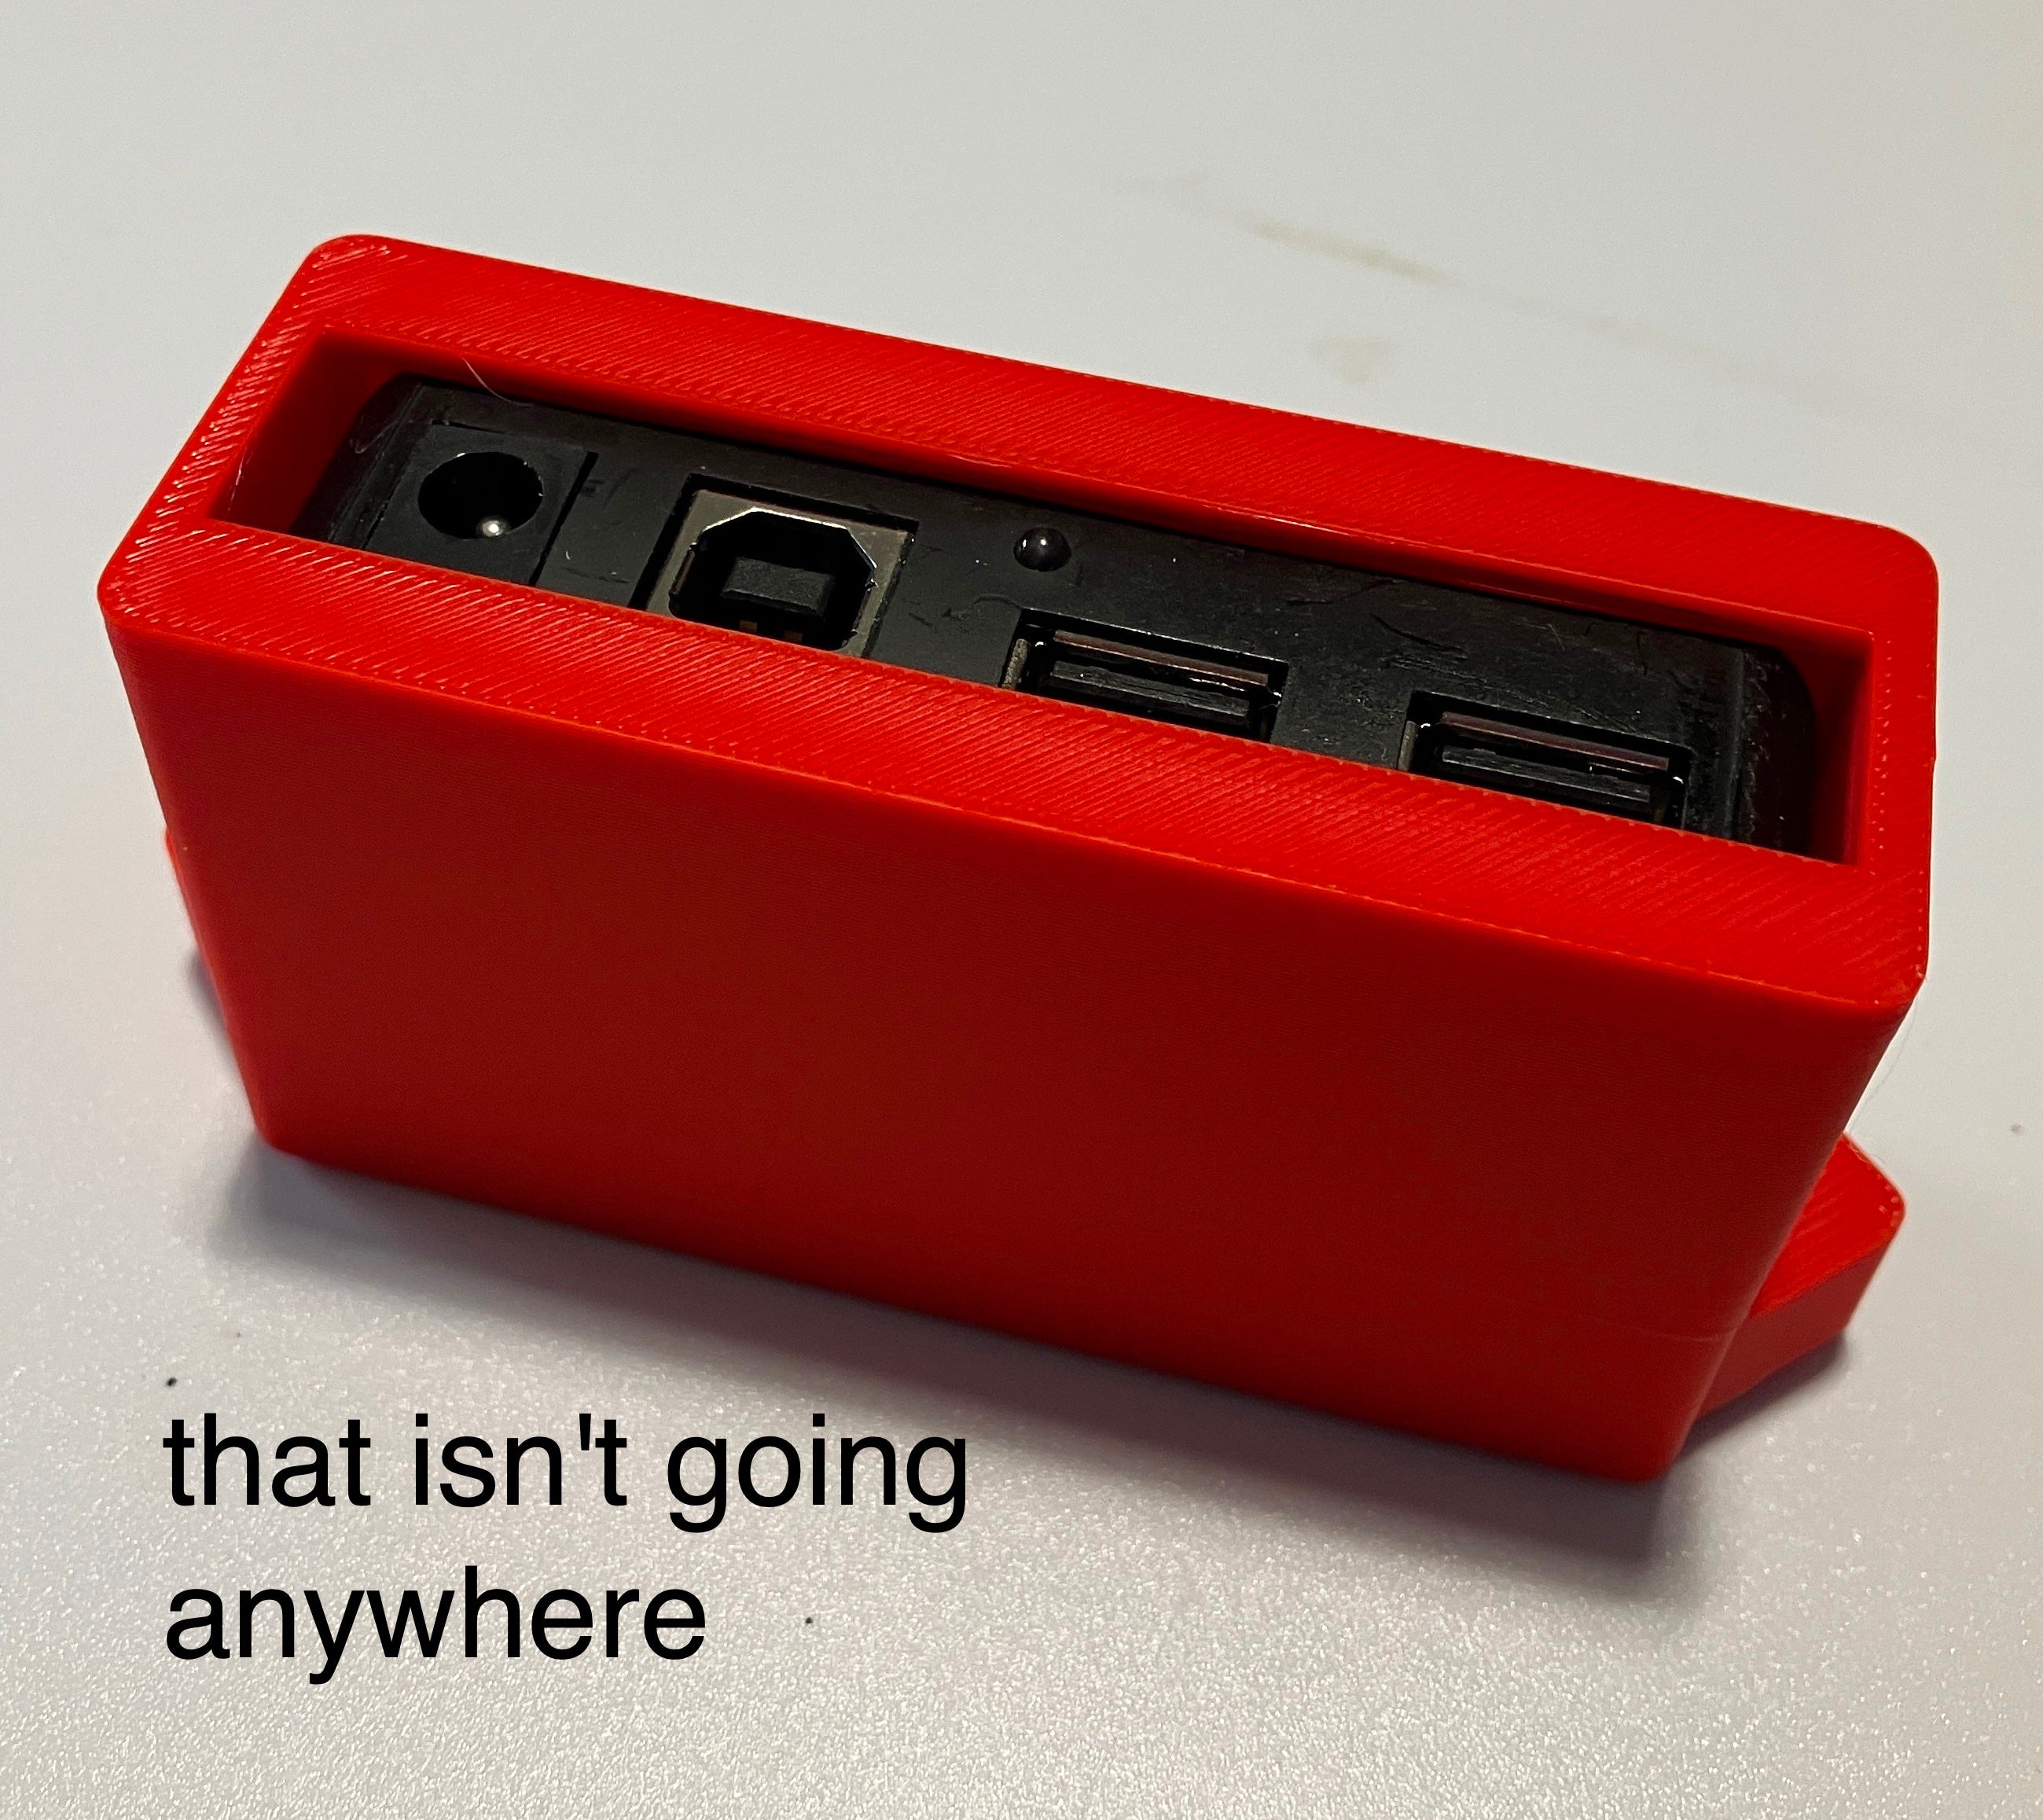
As you can see in the picture above, there are two large holes for the speakers and four standoffs each to secure them to the housing. These worked a treat, I’m so glad I used proper support in the 3D print slicer. What you can’t see in the photo was the aperture at the back for a USB hub. I decided to add this last minute, as there are only two visible and usable USB ports on the machine. These will usually be plugged with controllers, so it will be good to have some extra inputs in case I want to do some ROM addition or changing some settings with a keyboard ‘n’ mouse in the future.
Of course, the USB hub isn’t going to magically attach itself to the rear hole (remember, magic isn’t real - Just An Illusion (thanks Imagination))
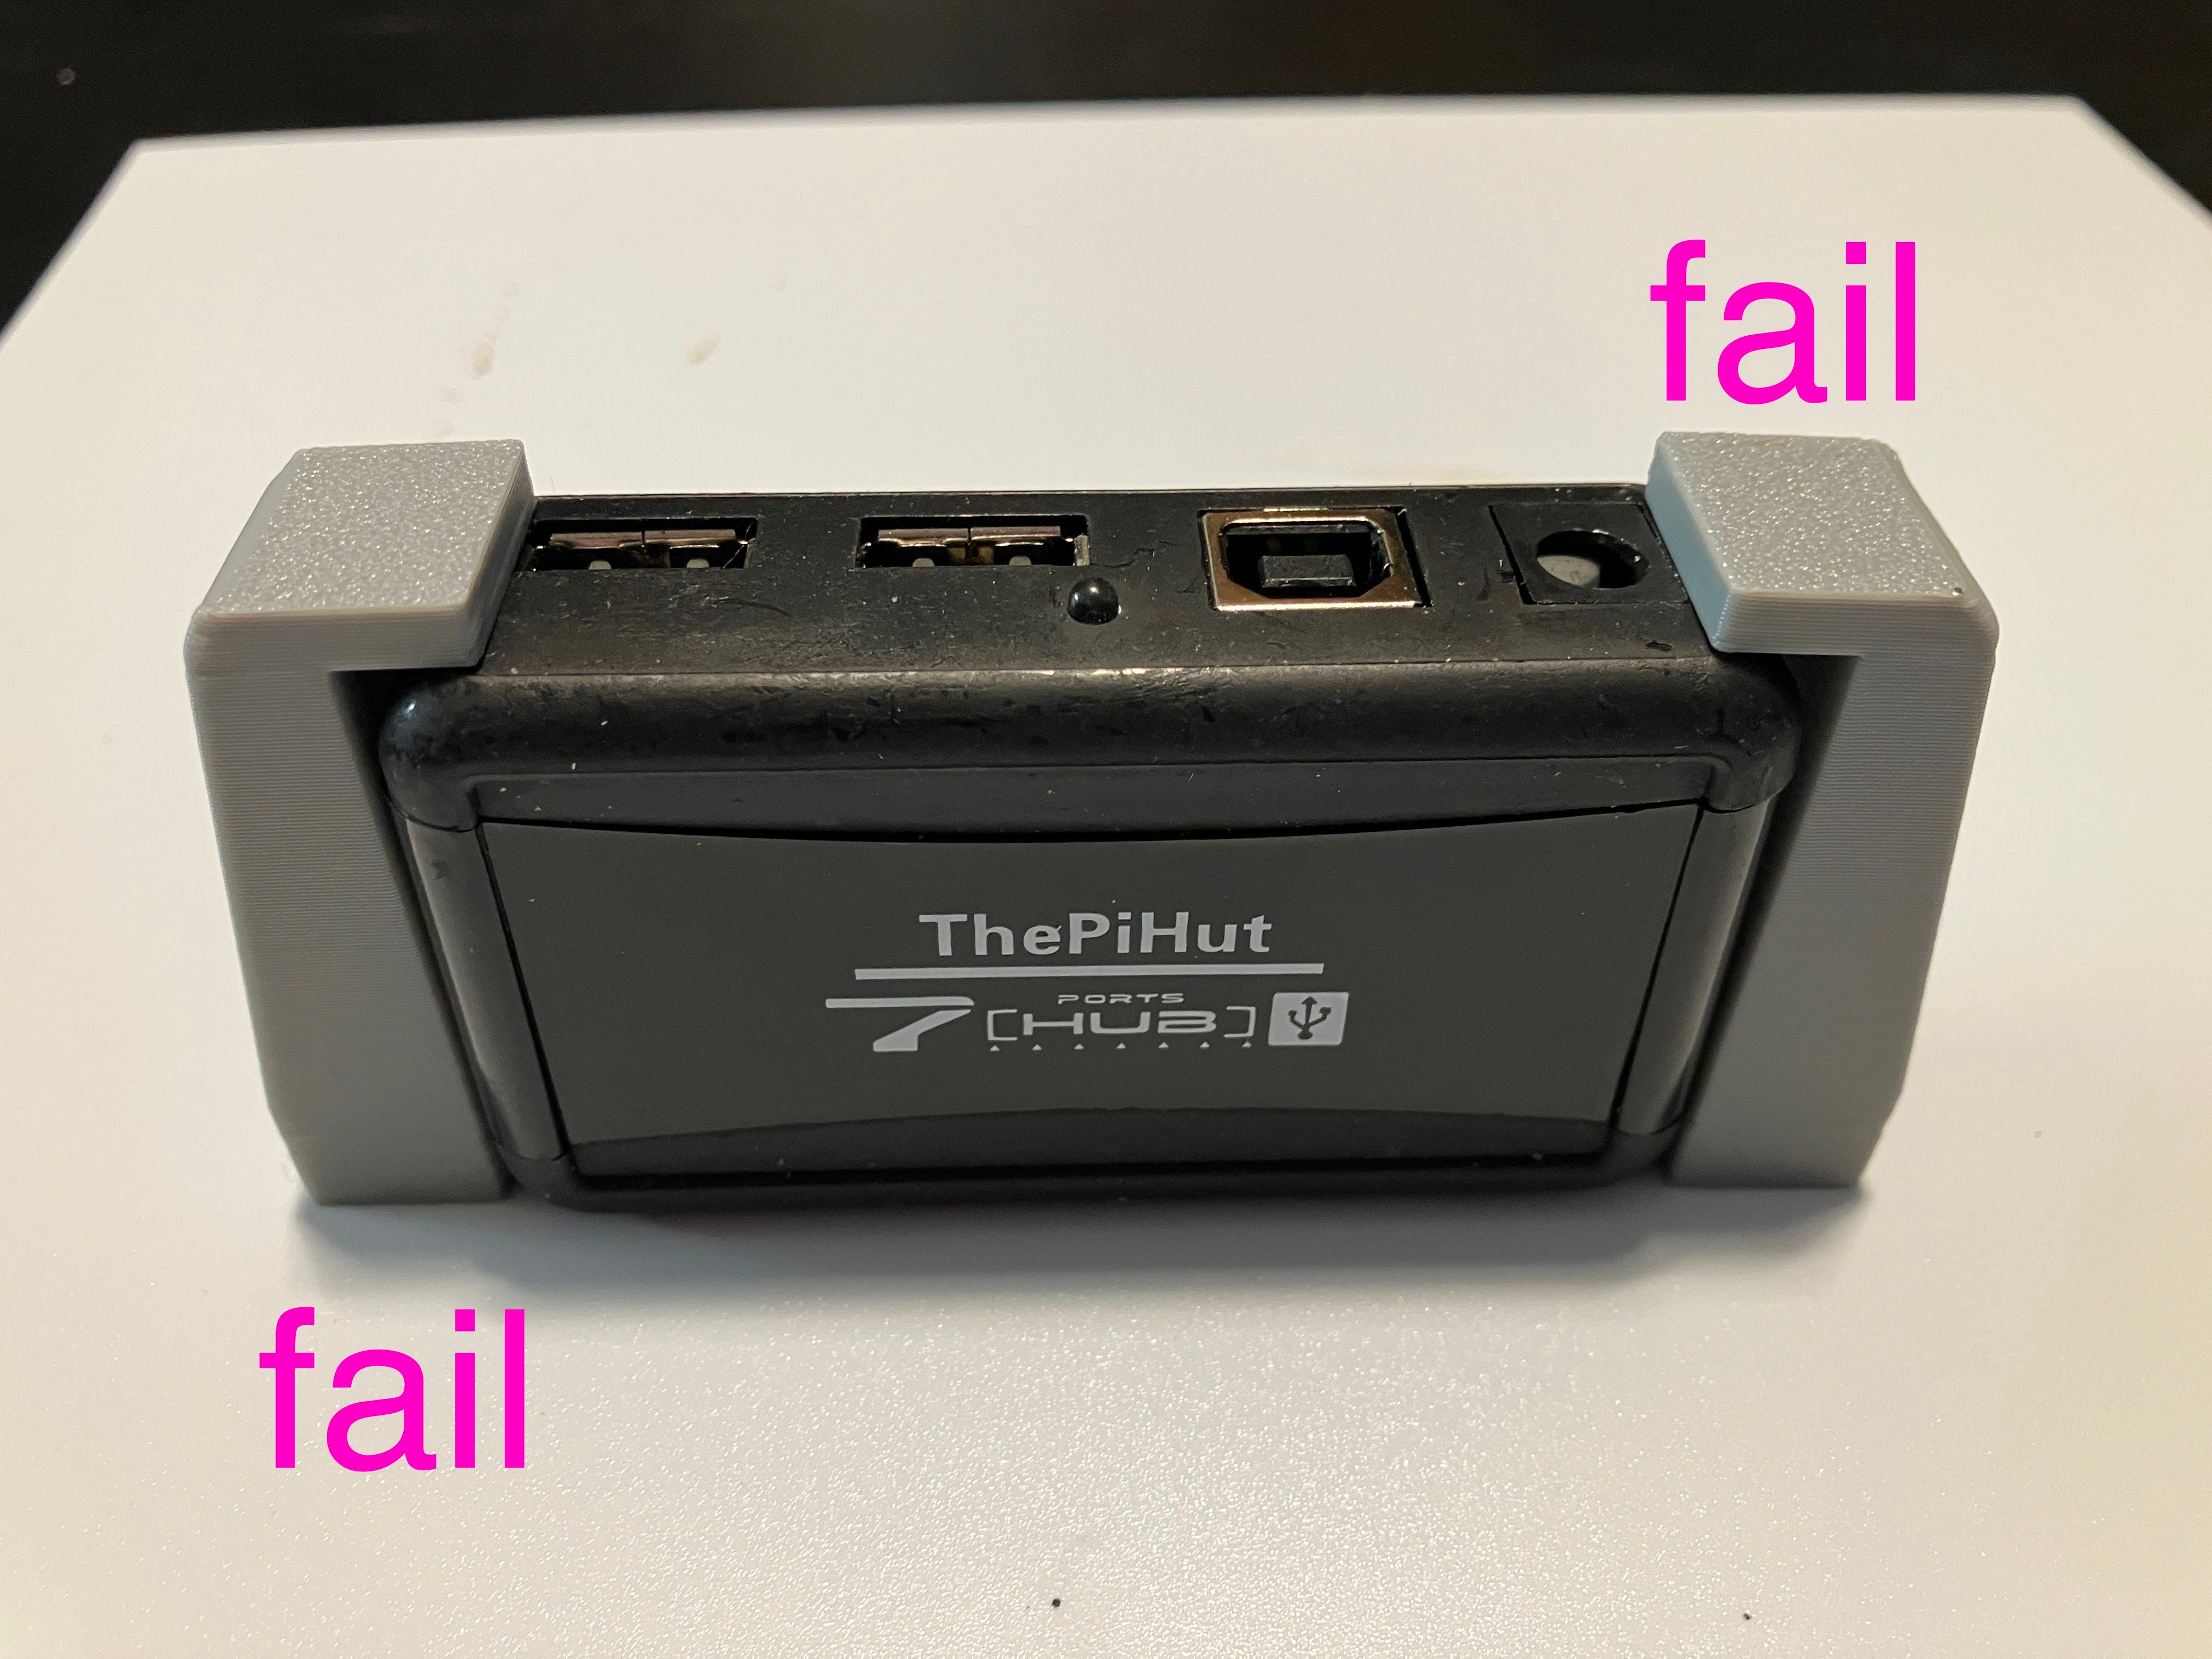
So, I designed and realised (made) some clamps. Spoiler - they didn’t work. Kept splaying apart when tightened and weren’t fit for purpose. I then did a very Victor thing to do.
I actually said out loud “NO, let’s do this properly”
And thus, I did it properly, forsooth.
Assemblage
I then started to finally put things in place.
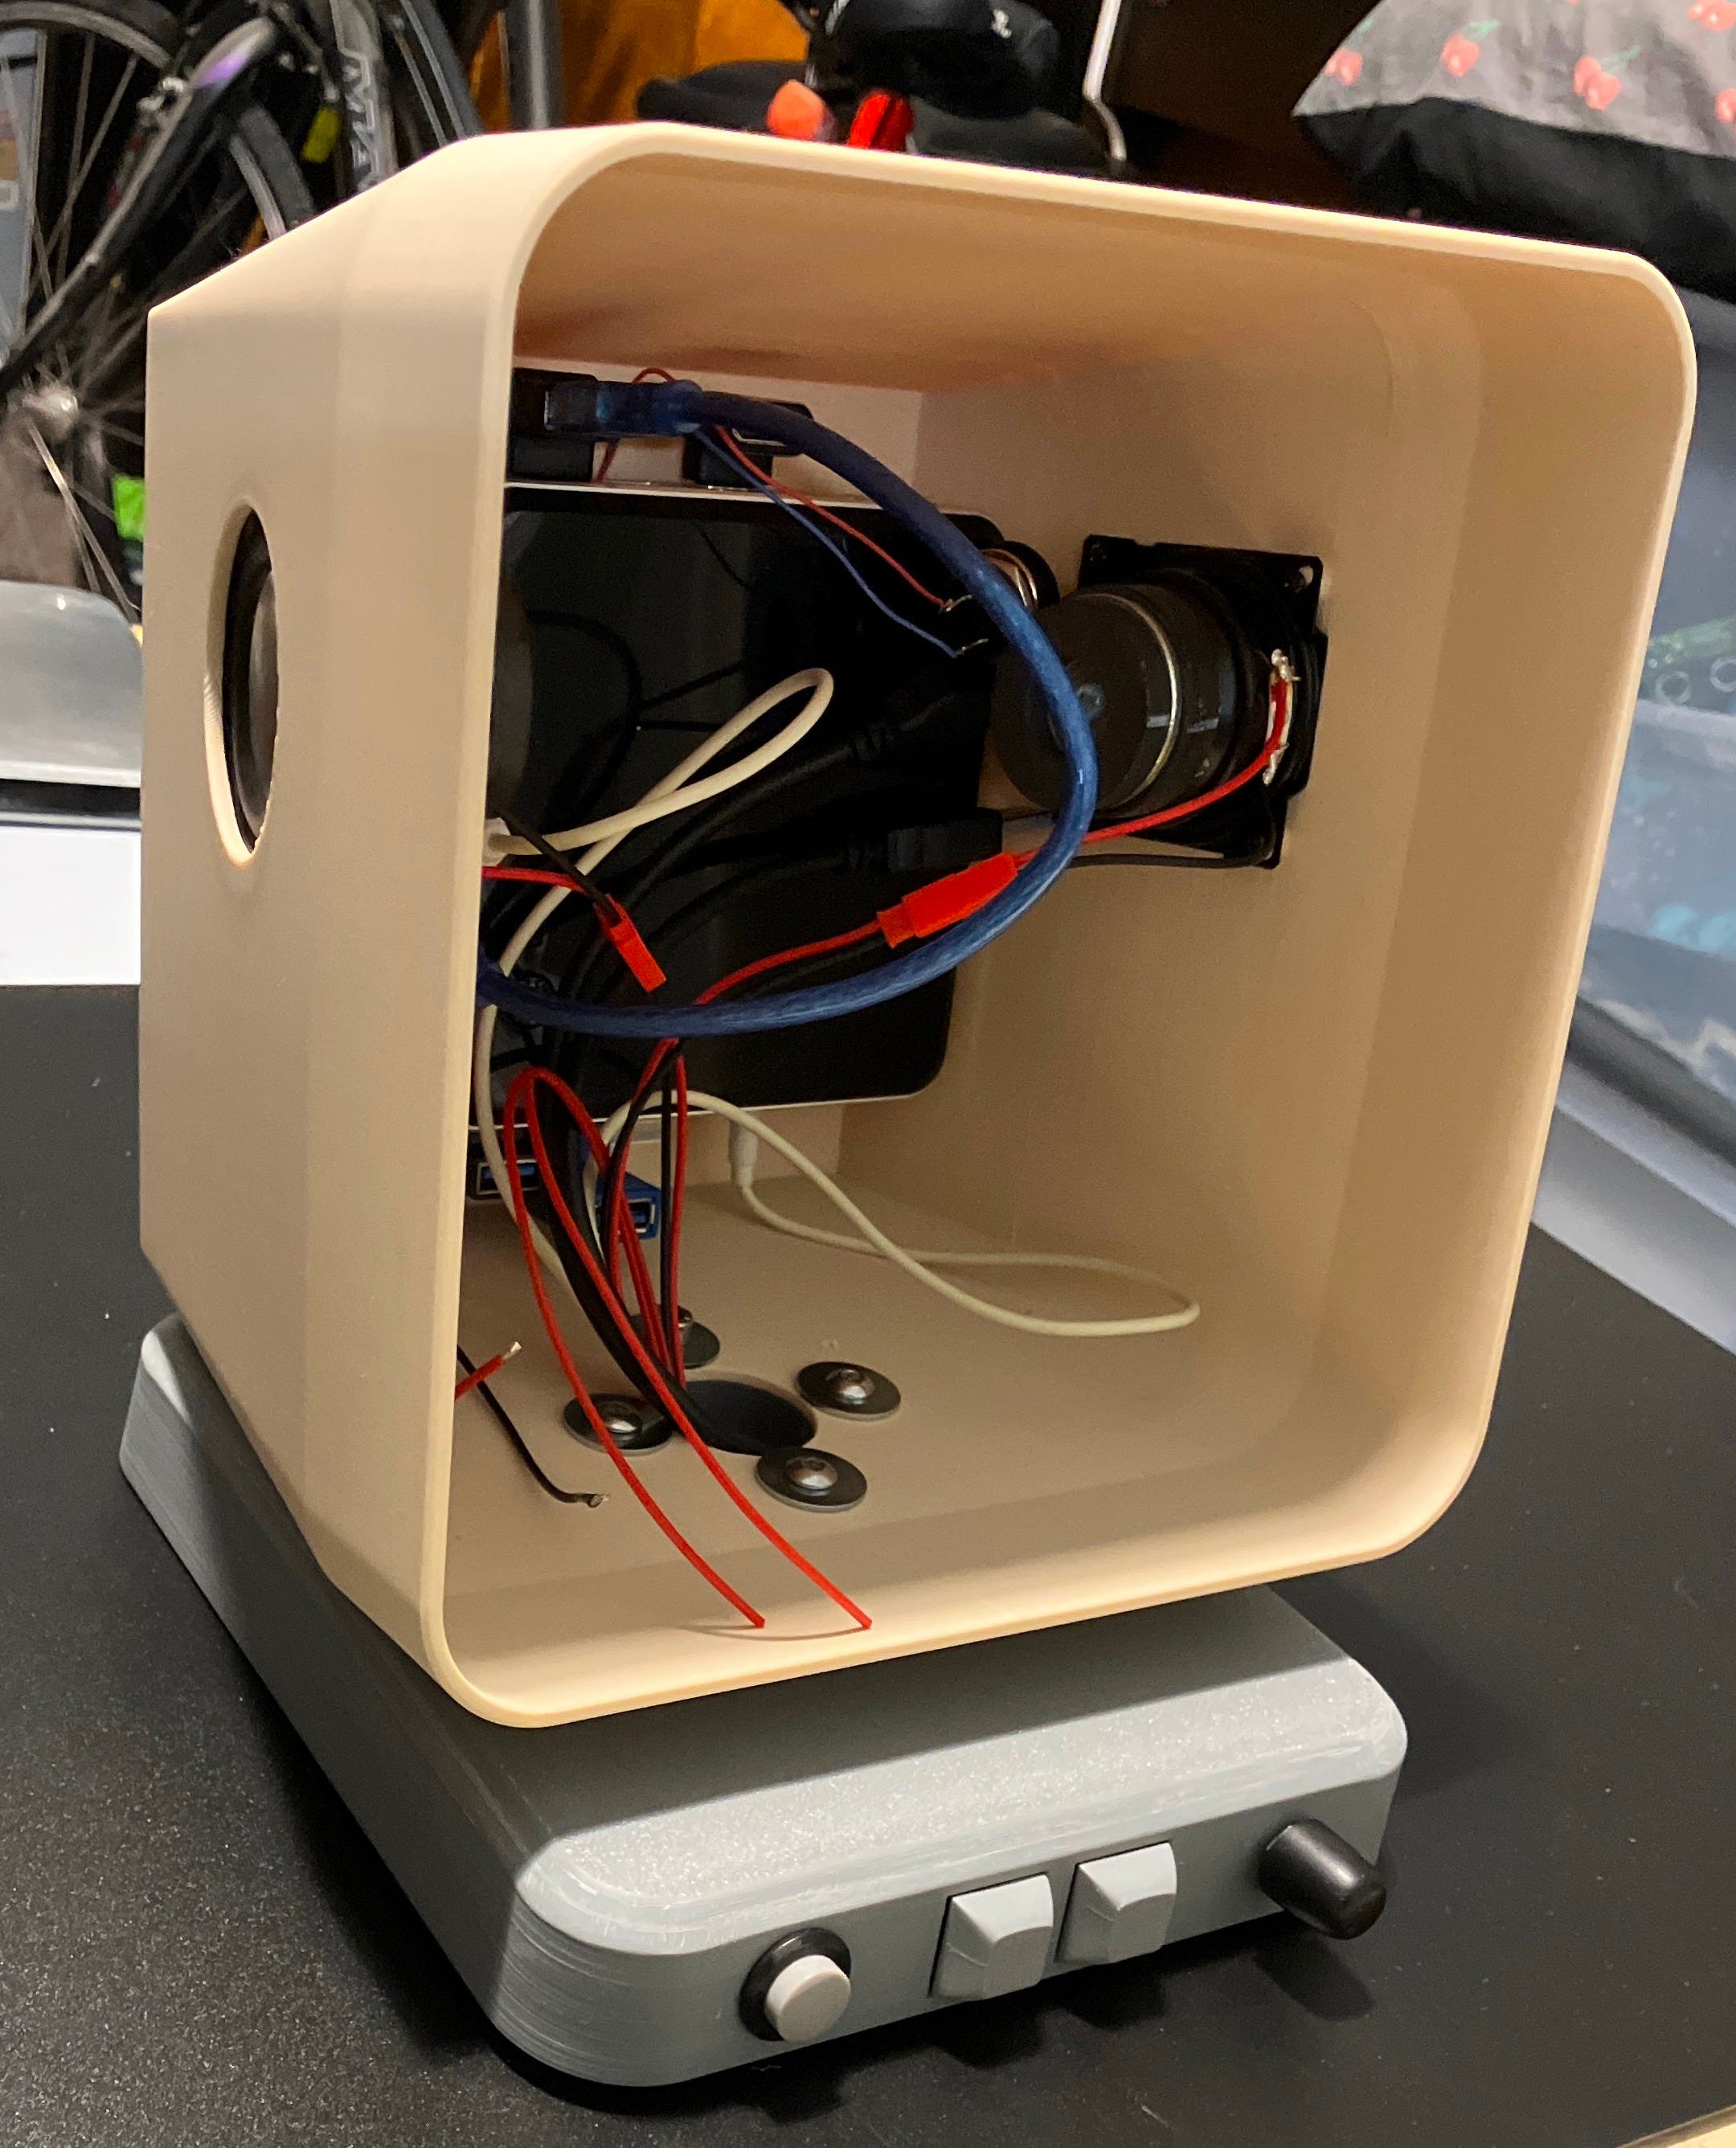
Ha. I say ‘finally’ that is an unfortunate lie. I spent a lot of time taking things out, moving them, bought right angle cable changers (because things didn’t quite fit) and after fitting it together with the screen part and playing it for a while noticed it was getting pretty warm inside the housing. I would have to do something about that - later on.
You can see the ‘afterthought’ right angle USB, HDMI and not in the picture, right angle power plug. Speakers fitted perfectly and they is <BEEFY>
Here is the picture y’all (three of you) wanted to see from last time, where I cropped it to avoid spoilers.
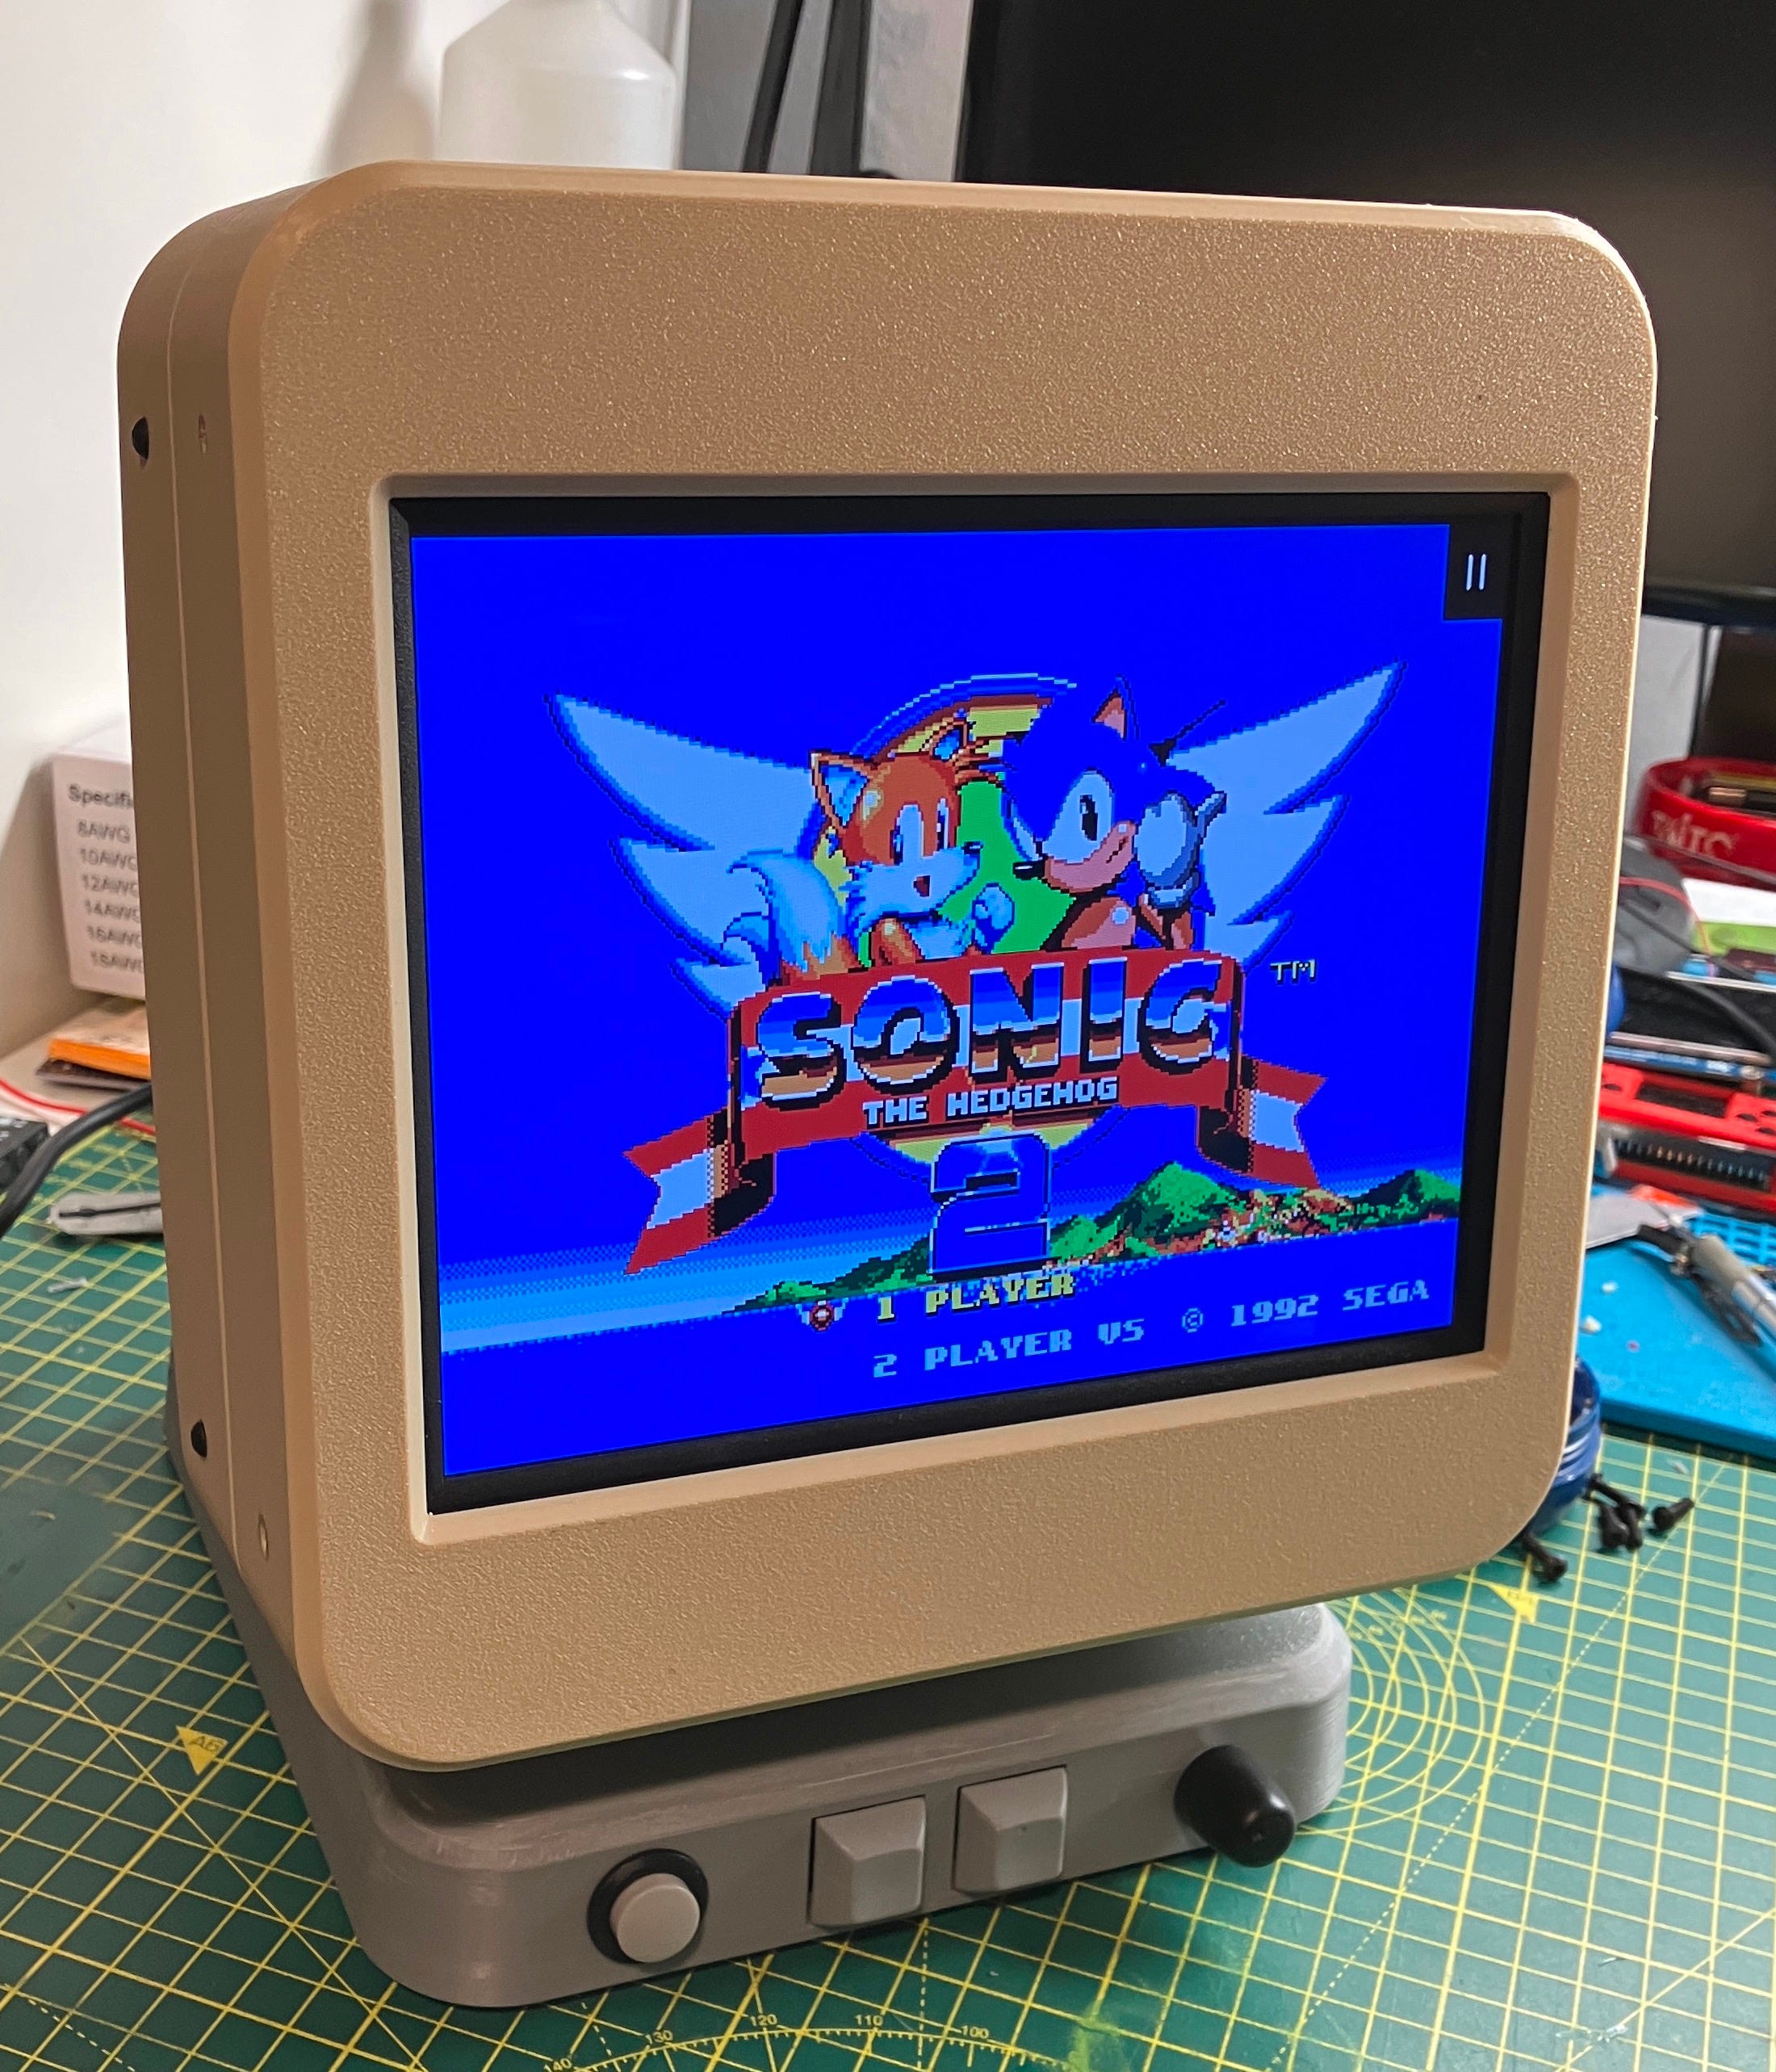
The poor thing just needs a face now (top picture - I needed a title image)
Later On…
I had to address the heat problem within the case. To my defence, I had added in some air intake / out (er) take vents, but they were really in the wrong position and probably not enough. So, I waited until the extra PC RAM I had ordered arrived and took the thing apart again and worked out that the NUC mini computer didn’t actually need the case it was in and could just be screwed to the back plate, (which I needed), as it was attached to the back face of the enclosure, holding it on. I also rotated the computer 180 degrees so the fan exhaust was at the bottom, nearer the air vents. This fixed the problem. The computer could breathe easier and heat was dissipating into the large void of the printed housing rather than the tight fitting original case with very small exhaust slots. Phew. I tested this by some intense Famicom game playing. Cool as a frozen cucumber.
But, Is He Pleased With It?
Thanks for asking. I am incredibly pleased with the finished item (or is it?)
I think this was an ambitious build, considering the reasonably large amount of 3D printing, which was all designed by yours truly. It all worked really well, apart from some very small faux pas. Namely, forgetting the large cable hole in the failed base box print, which I had to reprint. I also missed the small screw holes that attach the monitor housing, but I fixed that by using an accurate drill fixture to ‘remake’ the holes. They are also going to be covered in the next part…
The only small thing that I have pondered is that the base box is a bit small and may have look a bit better if it was the same foot print as the monitor part? All the needed parts fit easily in the base box, it’s just an aesthetic thing.
That would also be ‘project creep’ and I’m simply not allowing that. I am going to enjoy my creation now by indulging in some more 'game ‘testing’. I may just play through Klonoa again on the Playstation emulator. A fine game indeed.
Oh, There’s Going To Be More.
Next substack blog entry -
I think you are right that the footprint of the base matching the monitor box size would look better but then it would also be bigger than it needed to be. Neither solution would have made me perfectly happy…long way to say, you are correct in ignoring it and moving along 😃
That’s an important skill
Hi Vic, this has turned out amazing. Never heed those inner voices, I actually really like the smaller footprint of the base. The crowning glory here though is the monitor shroud. What a print, worthy of one of those fruity computer renditions.
My favourite photo of your blog so far is the 2001 Space Odyssey image.
You, Sir, should feel very content.